Hey crafty people!
Today I'm sharing some inspiration using the awesome new 'Crafty Friends' stamp set. I love the fun images in this set, and it's lovely to have the perfect set to make a card for your special crafty friend!
I have three completely different designs to share, and if you head over to Instagram you can check out fun reels for each design! Yay!
Card 1

I stamped out the images onto Neenah Solar White using Tubbycraft Jet Black ink pad; this is a fabulous ink to use when using alcohol markers. I stamped out multiples to give me enough images to use on my two card designs, and I even had a few left over to use at another time!
You do need to give the ink time to fully dry to prevent any smearing, or you can always heat set it to speed this up a bit! I used my Dual Speed heat gun, on the lower setting.
I quickly coloured each of the images in, just really simply with only a couple of colours for simple blending on most of the images. I like the cartoony look of the images themselves, and I wanted to lean into this with my colouring.
I chose bright, rainbow hues to give my finished cards a fun and happy feel, and to add to the cartoon feel I added white highlights with a Gellyroll pen.

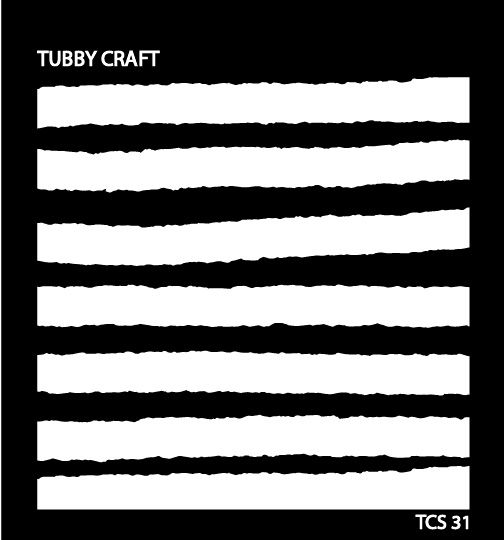
I used the Watercolour Lines Stencil to create my background; I blended Hickory Smoke and Black Soot Distress Oxide onto an a2 panel of Neenah 80lb.
I focused the grey into the centre of the panel and used black to darken the edges, creating a subtle spotlight effect. (Once I had finished, I couldn't help but see Zebra from this, so that's definitely an idea I am filing away for future use!)
Once this panel was dry, I cut it using one of the dies from Waffle Flower's a2 Lacy Layers to give it some extra interest. I also cut a smaller panel to sit in the centre of my ink blended one.

I stamped the sentiment onto this smaller panel, again using Jet Black ink pad. I adhered it onto the centre of my larger panel using foam tape to give some dimension.
I fussy cut all of my coloured images and arranged some of them around this sentiment panel. Once I was happy with the positioning I adhered them all into place; in the places where my images were not on the raised panel, I added more foam tape to level them.
I glued this whole panel down onto an a2 card base made from Neenah 110lb.
Card 2

I really had a lot of fun with this one! I had stamped, coloured and fussy cut these pencils with the images for my other card, and I wanted to turn them into a really playful mini slimline card design.
A mini slimline can vary a little depending on preference really, but I use 6.5in x 3.5inch measurements; so I cut a piece of Neenah 80lb down to this size.
I used temporary adhesive tape to get all of my pencils in the position that I wanted them to be in, so that I could easy add the squiggly lines all around but keep the positioning that I liked for my crayons themselves.

Once I had the layout sorted, I stamped my sentiment in the lower right hand corner using Jet Black ink pad.
I grabbed some coloured pencils that I felt fitted the colours on my stamped images and I just added some doodly lines leading from the tip of each pencil. I tried not to overthink it and just draw wherever the mood took me! I wanted it to look like someone, maybe even a child, had been having a lot of fun drawing away!
I glued all of the pencils into place with liquid glue and then attached this panel straight onto a card base made from Neenah 110lb and to the measurements I gave before!
This is a really flat card which would be perfect for sending in the mail!
Card 3

This card was the easiest to make, and it came together really quickly!
I used my Tubby Craft round acrylic block to stamp out the images onto a piece of maroon cardstock using my Ultra Slow Drying ink pad from WOW.
When you're making a background like this, it's easiest to work from the middle outwards so that you aren't left with any awkward gaps that you can't fill.
It's important to stamp some of your images going off the edge of your panel; this gives it a more natural look and could easily be cut from a larger piece of patterned paper.

I added In The Navy embossing powder (also from WOW) and heat set this with my Dual Speed heat gun.
I really love the way that the navy embossing looks against the maroon cardstock; it's easy to see yet remains somewhat subtle still.
I embossed the sentiment onto a strip of vellum using Superfine White embossing powder and then attached this to the panel by folding the edges around and gluing them on the back of the panel.
This is a fabulous way to attach a vellum strip ensuring that you won't be able to see any adhesive through the vellum because there isn't any!

I attached this straight onto an a2 card 110lb base but I did add 3 white acrylic dots to round off the design.
I hope that you like my cards, and I hope you like the new stamp designs.
I can't wait to see what you all make with them!!!
Don't forget to use code NATASHA5 for 5% off your Tubby Craft orders*!!
Thanks so much for joining me for this crafty post, I hope you have a lovely, happy, safe, wonderful week.
Stay Crafty!
Byeee!
HandmadeByTasha
Instagram | Youtube | Blog | Facebook
 |
| Jet Black ink pad |
 |
| Watercolour Lines Stencil |
* Affiliate code used, this means that I earn a small commission for every sake made using my code. This is at no extra cost to yourselves at all. Many thanks to anyone who does use this.
Comments
Post a Comment