
Craft-A-Long with the Kids Edition Kit | Tasha and Special Guests!

 Hey crafty people!


It's Tasha here, from HandmadeByTasha, and I'm here today with two very special guests.

I love showing you all the wonderful things that Tubby Craft's kits can do, but this time I thought it was time to hand over to a couple of little experts!


I had so much fun crafting along with my children, with this awesome kit! There are so many different parts of the kit that make it entertaining for a huge range of ages; my 6 & 10 year olds were both loving it!!


We did some ink smooshing using all three of the coloured inks, to see what mixture of colour we would end up with!

We ended up with this cool Purple background which could be used on any project!


They both loved using the blending brush that comes in the kit!

Here, my daughter blended a custom 'fire' background with the red & yellow inks, letting them mix to get an orange hue.

She also stamped, coloured and fussy cut the cake from the stamp set you get in the kit - I LOVE the rainbow icing!

She added a cut apart piece from the patterned paper and ink blended her name with the Alphabet stencil! (*I blurred this because I do not share personal details about them online.)

This poster is by my youngest child; she wanted to make one to help her learn the alphabet!

She explored direct to paper inking, stamping, ink blending and stencilling!

Best of all, she had SO MUCH FUN doing it!!


They have spent hours playing with this kit, and there is still so much left over for even more crafty sessions!

As my eldest child put it; "You can really let your imagination go wild!"


Thanks so much for joining me for this crafty post, I hope you have a lovely, happy, safe, wonderful week.

Stay Crafty!

Byeee!

HandmadeByTasha

Instagram | Youtube | Blog | Facebook


Supplies


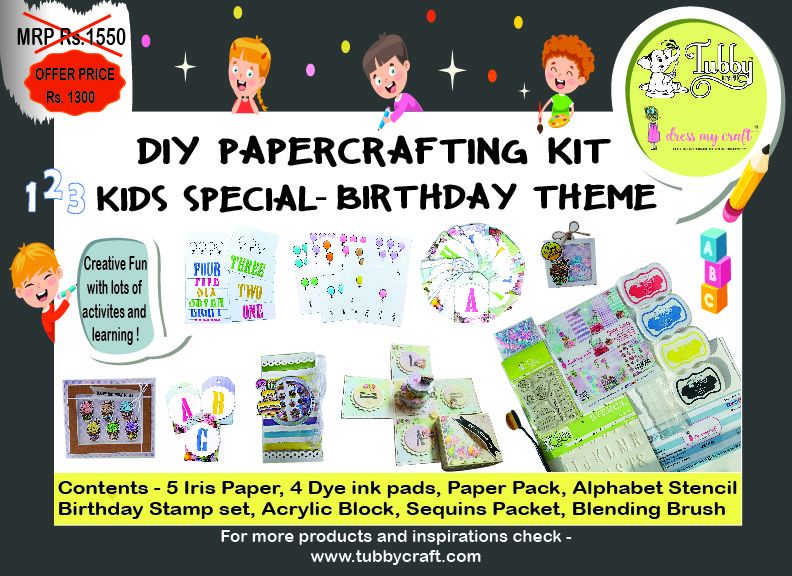
Kid's Special DIY Papercrafting Kit!

Comments

Popular posts from this blog

ATC coins using mini stamps

Hello there, This is Priyadarshini here today, I have ATC coins here today using stamps from Tubby craft. I have used 3 different stamps to make these. They are easy and quick to make and absolute fun too. I have a common base here which is black cardstock and die cut small circle from white cardstock. I created different background for each using stencils and inks from Tubby craft.  What are Artist trading coins? They are miniature art created on 2.5"circle of heavy base cardstock.  ATC with stenciled background                      First, I stenciled the white cardstock using stencils and dye inks. Then added this to a black circle die cut.  Inks used are:  Turquoise ,  Olive green ,  Lavender violet I offset the stencil to get a a complete stenciled background. I stamped the images from  Lovely Owl  and  Butterfly Love  and coloured them with colour pencils.  To embellish, I added corrugated sheet,cotton gauze and twine.  To finish the coins, I added

Tubby Craft - Penguin Love - Birthday Cards by Deepti

Hello Everyone, I'm stopping by to share two birthday cards using cute Tubby Craft stamp called "Penguin Love" and "Birthday Wishes". I have used Masking technique to make both the cards. Card 1 To make this card, I die cut out the white card stock and stamped the penguins by masking them using Black tubby craft ink. Once satisfied, I stamped the balloons too and colored all these images using alcohol markers. After that I stamped the sentiment on white strip and adhered the same using foam tape along with washi tape. Glued it on Pista green card stock. Finally added some clear sequins to complete it. Here is my second card using same stamp set.. For this card also, I die cut out white card stock . Then I stamped the image and masked it to ink the background. After that I stamped the balloons and the sentiment. Added stamped and fussy cut gift too.  Finally adhered it on matching note card and added some matching s

Two amazing anniversary cards by Anushree

Hi Everyone !! Hope you all are doing good and crafting too. I have two cards for today. I have highlighted  different techniques for each card. Onto my first card, I have tried showcasing repeated stamping in a border style . I have used Plumeria Florals stamp set and Jet Black dye ink from Tubby craft to stamp the border first. Next I chose Imperial Red and Lead gray dye inks from Tubby Craft to color my florals. Sentiment is a die cut on Gold card stock and the card is embellished in gold peals. For border,I have adhered Gold border die cut to enhance the card on a black cardstock. Now onto my second card, I am using Checkered Stencil for the background .I have used rainbow colors from Tubby Craft Dye ink collection to put them on paper using blending brushes. I masked the center with a circle die cut before applying inks to the card base. Once stenciled background is ready,I removed the mask and stamped sentiment from Luc