
7 Embellishments Using Tubby Craft Number Stamps by Swati

Hi Guys!!

Hope you are are doing good and are healthy.

Today I will be sharing a very fun tutorial of a project that can be used in many ways.

We'll be making embellishments using Tubby Craft Number stamps. We'll make not 1 but 7 different embellishments.


Let's get right into it. :)

Step-by-step process:
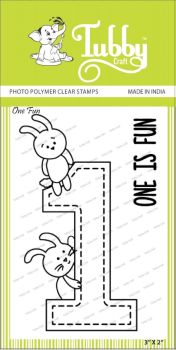
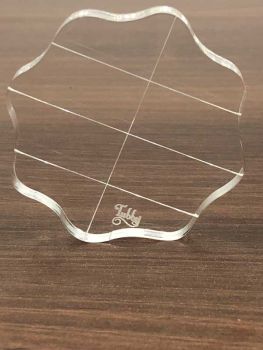
1. Take your first stamp 'One Fun' and mount it to the acrylic block. 

2. Stamp it using Waterproof ink pad on a watercolour paper.

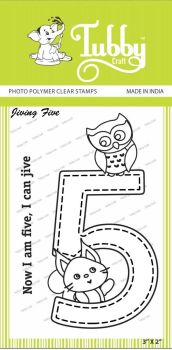
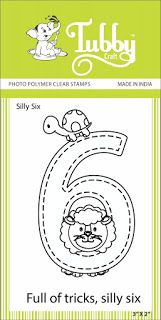
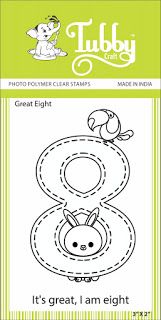
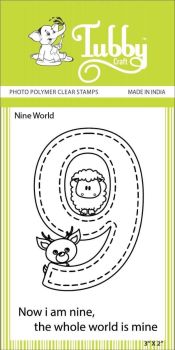
3. Repeat the same for the other stamp sets: 'Looking Three', 'Jiving Five', 'Silly Six', 'Seven Heaven', 'Great Eight' and 'Nine World'.

4. Once all the images are stamped on a watercolour paper, you can use any colouring medium to colour the images. If you are using Alcohol-based markers then stamp using Tubby Craft Black ink pad.
I used Watercolors as I am very comfortable with them. Use any brand of watercolours to colour the images.
5. After colouring them, fussy cut them as precisely as possible.
6. Now I have 7 stamped, coloured and cut images of the Numbers.
7. After its, I check my stash and take out 7 pieces of coloured cardstock which colour coordinate with my coloured images.
8. I use a die-cutting machine and cut out that coloured cardstock into a circle and tag shapes.
9. Now its time to place my sentiments. I stamp them with Versamark ink on stripes of black cardstock and then heat emboss it using white embossing powder.
Then I heat set them using my Heat gun.
10. Then I assembled all the coloured cardstock and looked which ones will go best with which numbers. You have to work out your creative muscles here. :)
11. After you are happy with the designs, go ahead and stick everything together.
12. Use foam tape for giving dimension to the tags.
13. Punch a hole for the threads on the cardstock and use different colour ribbons and twines and thread them through the hole.
14. Check out all my images here for inspiration and I am sure you'll get the process.


If you make something inspired by this video, do tag @Tubby_craft and @huesofmemories on Instagram. Looking forward to all your creations.

Thank you !! 
Keep crafting :)

Supplies used:
One Fun

Looking Three

Jiving Five

Silly Six

Seven Heaven

Great Eight

Nine World

Medium Acrylic Block

Tubby Craft products are available at Tubby Craft website now:
Visit www.tubbycraft.com

Comments

Popular posts from this blog

ATC coins using mini stamps

Hello there, This is Priyadarshini here today, I have ATC coins here today using stamps from Tubby craft. I have used 3 different stamps to make these. They are easy and quick to make and absolute fun too. I have a common base here which is black cardstock and die cut small circle from white cardstock. I created different background for each using stencils and inks from Tubby craft.  What are Artist trading coins? They are miniature art created on 2.5"circle of heavy base cardstock.  ATC with stenciled background                      First, I stenciled the white cardstock using stencils and dye inks. Then added this to a black circle die cut.  Inks used are:  Turquoise ,  Olive green ,  Lavender violet I offset the stencil to get a a complete stenciled background. I stamped the images from  Lovely Owl  and  Butterfly Love  and coloured them with colour pencils.  To embellish, I added corrugated sheet,cotton gauze and twine.  To finish the coins, I added

Tubby Craft - Penguin Love - Birthday Cards by Deepti

Hello Everyone, I'm stopping by to share two birthday cards using cute Tubby Craft stamp called "Penguin Love" and "Birthday Wishes". I have used Masking technique to make both the cards. Card 1 To make this card, I die cut out the white card stock and stamped the penguins by masking them using Black tubby craft ink. Once satisfied, I stamped the balloons too and colored all these images using alcohol markers. After that I stamped the sentiment on white strip and adhered the same using foam tape along with washi tape. Glued it on Pista green card stock. Finally added some clear sequins to complete it. Here is my second card using same stamp set.. For this card also, I die cut out white card stock . Then I stamped the image and masked it to ink the background. After that I stamped the balloons and the sentiment. Added stamped and fussy cut gift too.  Finally adhered it on matching note card and added some matching s

Two amazing anniversary cards by Anushree

Hi Everyone !! Hope you all are doing good and crafting too. I have two cards for today. I have highlighted  different techniques for each card. Onto my first card, I have tried showcasing repeated stamping in a border style . I have used Plumeria Florals stamp set and Jet Black dye ink from Tubby craft to stamp the border first. Next I chose Imperial Red and Lead gray dye inks from Tubby Craft to color my florals. Sentiment is a die cut on Gold card stock and the card is embellished in gold peals. For border,I have adhered Gold border die cut to enhance the card on a black cardstock. Now onto my second card, I am using Checkered Stencil for the background .I have used rainbow colors from Tubby Craft Dye ink collection to put them on paper using blending brushes. I masked the center with a circle die cut before applying inks to the card base. Once stenciled background is ready,I removed the mask and stamped sentiment from Luc