Hello my dearies I hope you all are doing well :)
This is Crafter Anu & today I am here to share 2 fun birthday cards.
To create these cards today I am going to show you a different yet fun technique.
EMBOSSING WITH STENCIL
Generally we use stencils with inks but do you know that you can even emboss with them?
Yes ! Embossing with stencil is so much fun & easy to create a background.
For this technique you will require a die cutting machine.
WHAT IS EMBOSSING?
Emboss simply means a raised look of a particular design on paper.
HOW TO EMBOSS?
Take any stencil & a piece of paper on to which you want to emboss.
Place the stencil on top of paper secure the sides with some masking tape so that
the paper & stencil doesn't move while you emboss.
Now make a simple die cutting sandwich & run it through your die cutting machine.
& here's your embossed background is ready.
If you need any more assistance then watch this video:
click here to watch
Now let's have a look at the cards !
CARD 1: LET'S CELEBRATE

To create this card i used
ADORABLE RUNNER stamp set

BACKGROUND
Take a piece of white cardstock measuring 6.5 x 3.5 inches.
Emboss it using BRICK STENCIL from tubby craft.


Also to create grass take a small piece of white cardstock.
blend some LAWN GREEN INK from tubby craft on it.
cut the shape of grass using scissors.

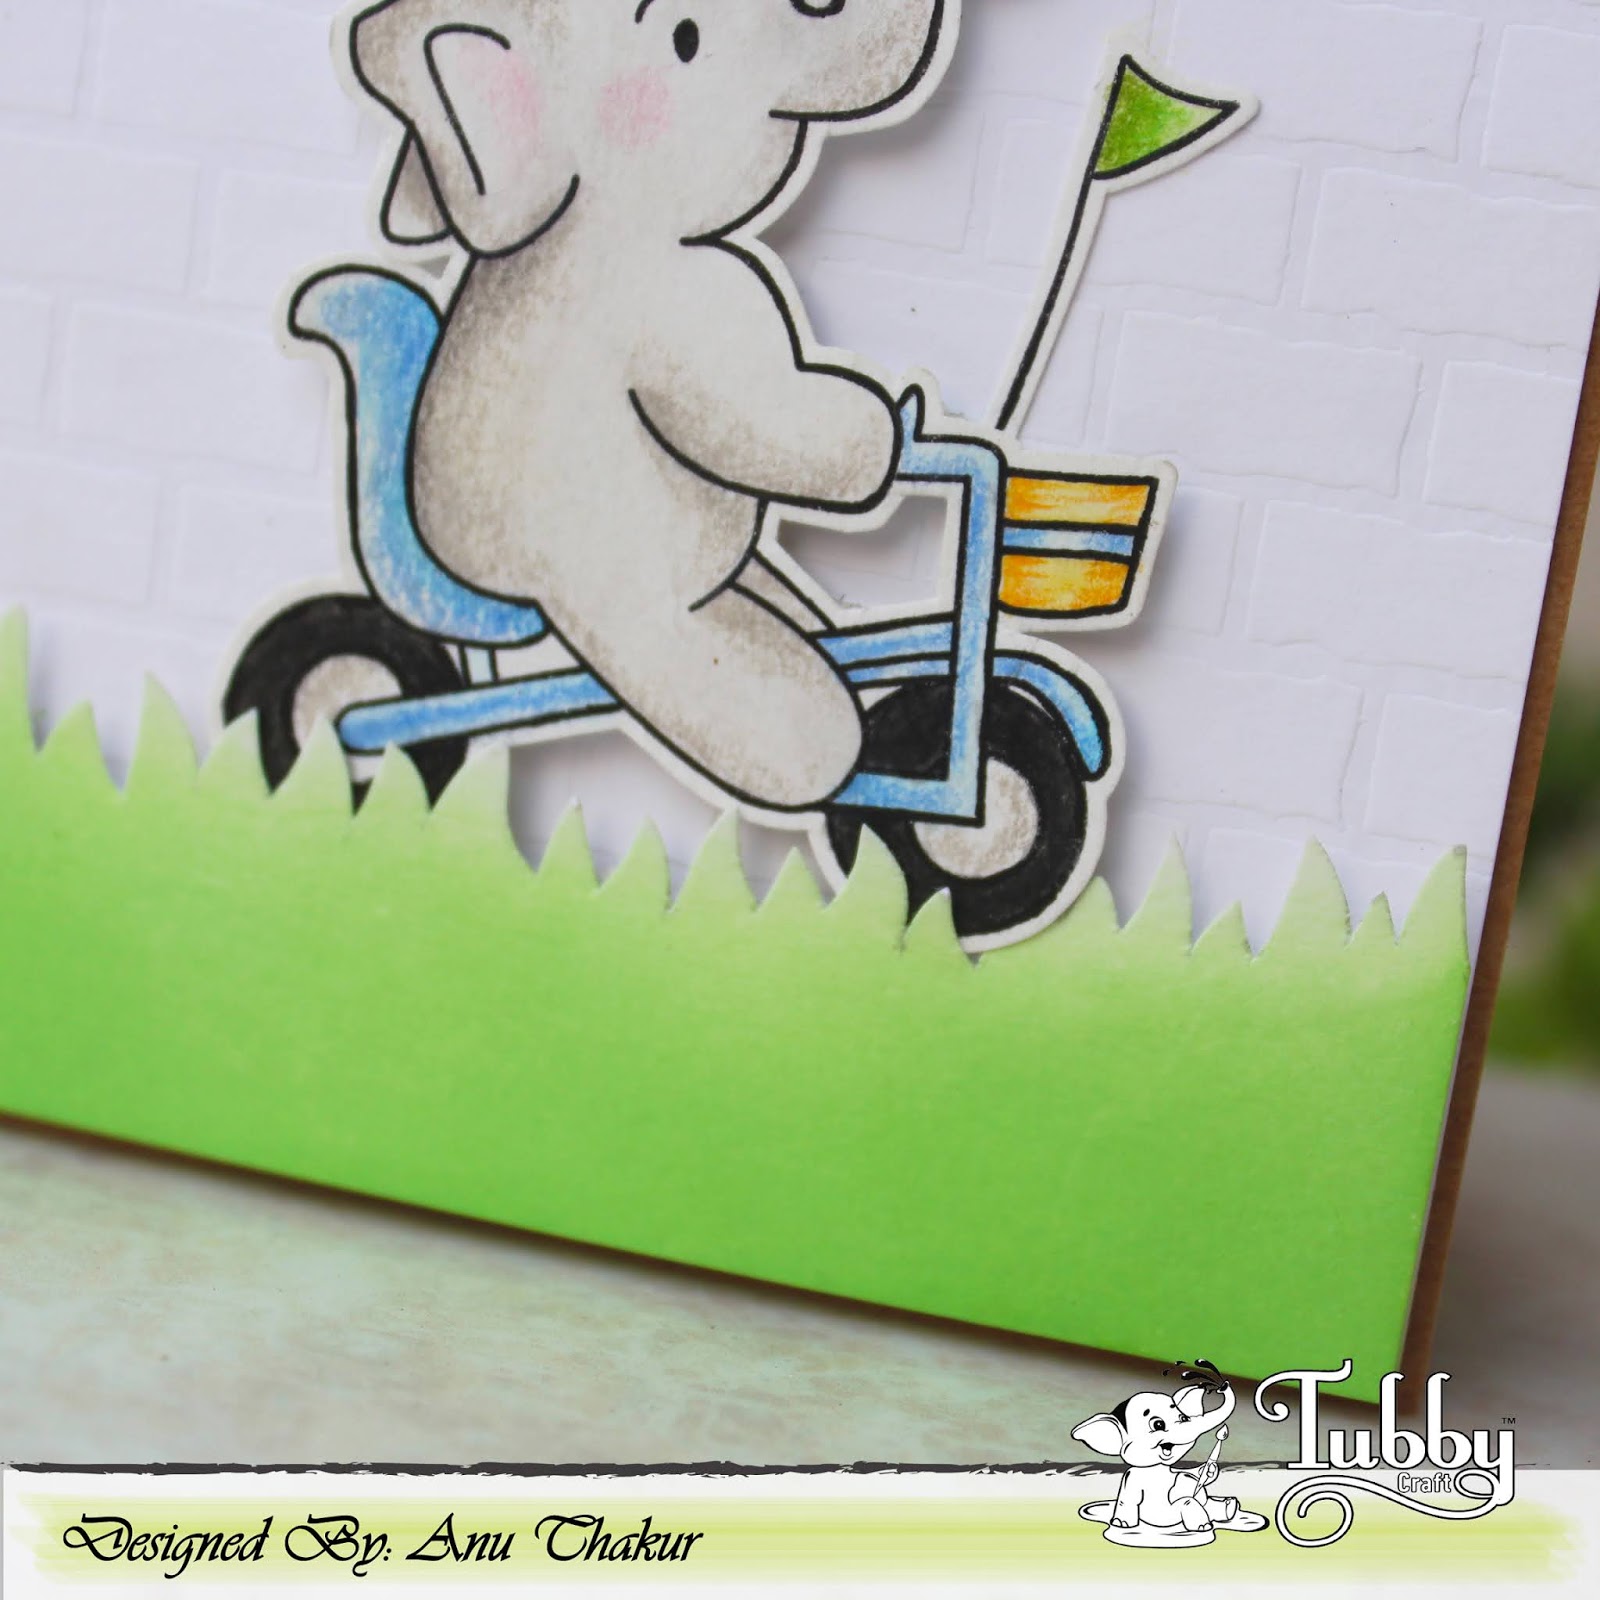
STAMP & COLOR
Stamp the following images using black ink & color them
Also stamp the sentiments on half inch paper strips.

FINAL ARRANGEMENT
Adhere all the elements as shown.
for additional dimensions use foam tape.
Finally add it on a kraft color note card.
CARD 2: HAPPY 1ST BIRTHDAY

Additionally i used ONE IS FUN stamp set from tubby craft.


Follow the steps below:
BACKGROUND
Take a piece of white cardstock measuring 4.25 x 5.5 inches.
Emboss it using BRICK STENCIL from tubby craft.

STAMP & COLOR
Stamp the following images using black ink & color them
Also stamp the sentiment on a white piece of cardstock using
FANCY SENTIMENTS stamp set from tubby craft


FINAL ARRANGEMENT
Adhere all the elements as shown.
for additional dimensions use foam tape.
Finally add it on a kraft color note card.
--------------------
So this is all from me today.
I hope you enjoyed these projects & the tutorial.
Do like, comment & share :)
Until next time, Happy Crafting.
xoxo
Crafter Anu
clivitVeldzu_2000 Adrian Viher https://wakelet.com/wake/ri1PuM062IR4cgqvmLKQQ
ReplyDeletealmeseari
clarodOat-ji Dave Hundley Awesome
ReplyDeleteclick here
growlaytouchsders