
Magic card and one fun card by DT Devika


Hello everyone! 

It's Devika here today. I have 2 cards to inspire you today.

Card 1: Magic Card with Giraffe Stamp Set


I am in love with this utterly cute stamp set, Giraffe Love, which is a perfect stamp set for this valentine ;) Both the giraffes and the little hearts are designed perfectly to complement each other!!


So let’s start off with some magic! :D


Cut out the base required to make the magic card along with the pull tab and the running track.

Fold the base in between and make an opening in between for the pull tab.  
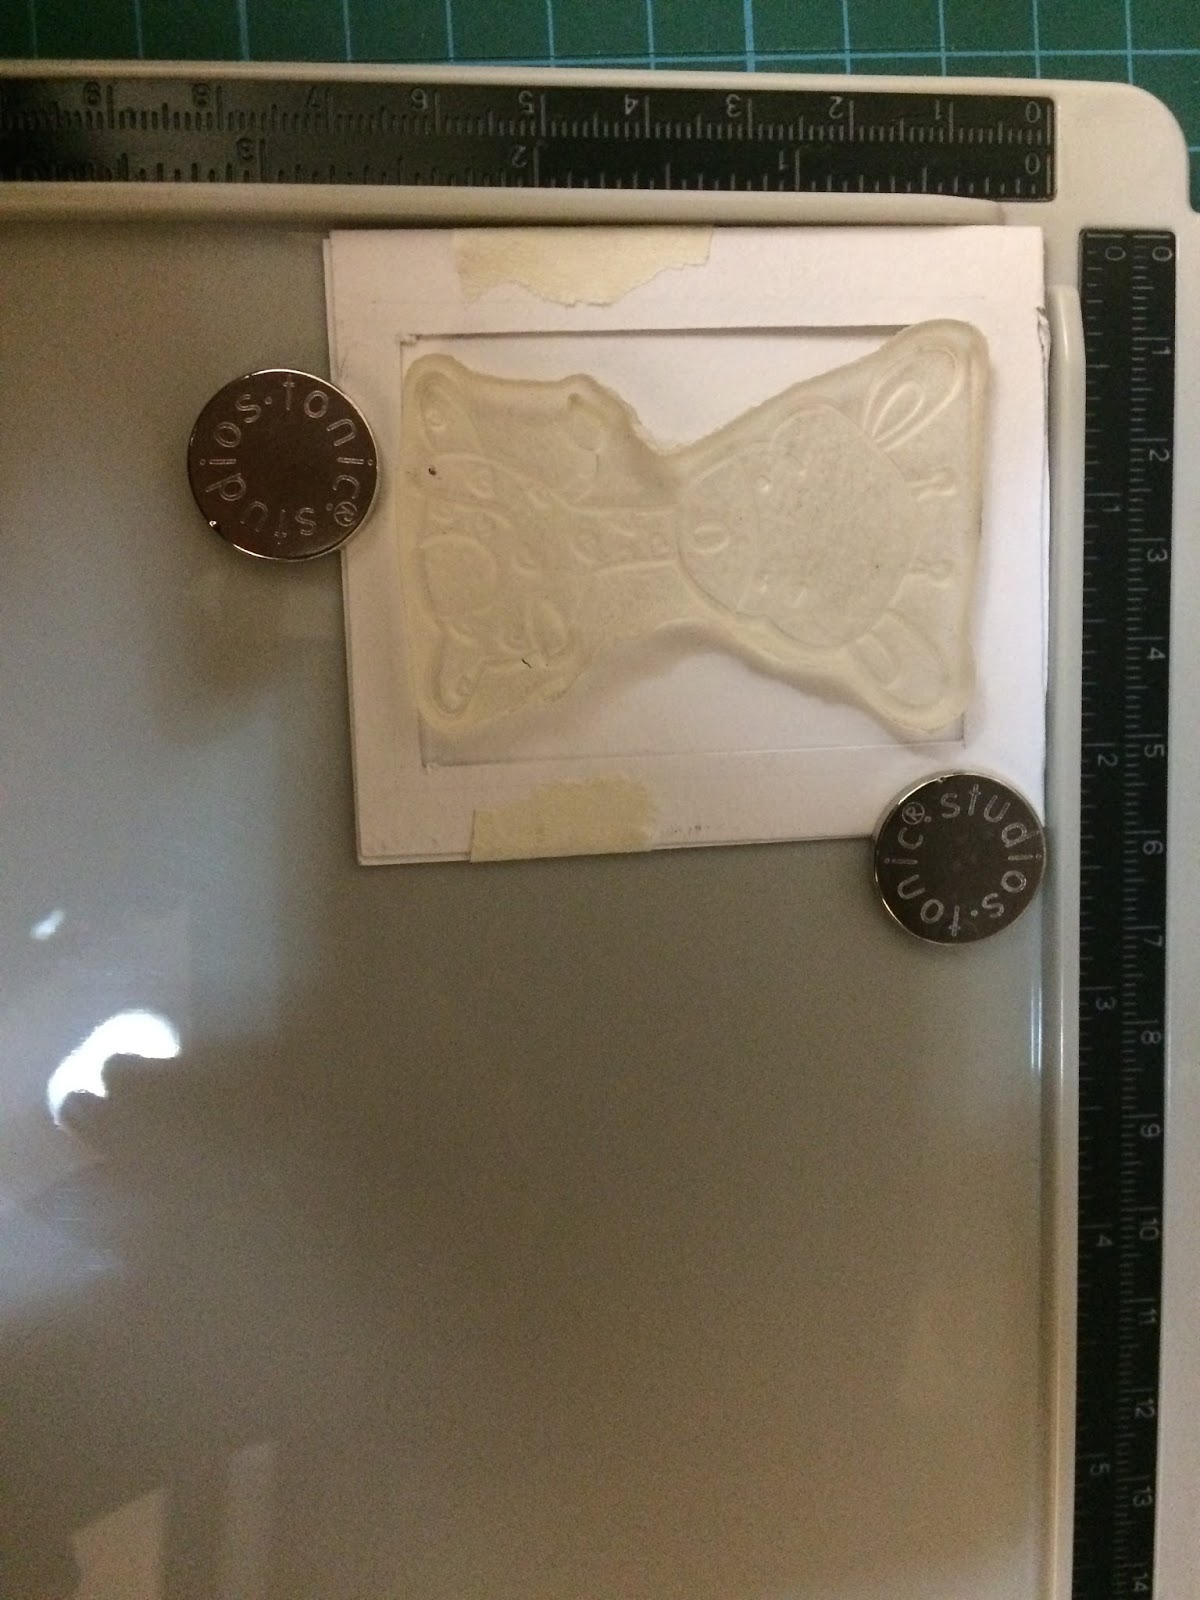
Cut the top layer of the folded base which will be the base for the coloured giraffe stamp.


Now place the Giraffe stamp just inside the window and stamp it on the base cardstock.
Colour it with whatever colouring medium you like. 
I really liked the cute heart, so i stamped that as well at the base.
Cut out a rectangular piece of acetate a little bigger than the cut out window (where you have the coloured giraffe) and stamp the giraffe with black ink and adhere it on the lower side of the opening window.


Place the pull tab between the cut out line at the top and pull it a couple of times to ensure its  correct placement.
Adhere the running “U” shaped track which will act as a guide for the “pull tab” onto the base card  stock.

Once your are happy with all the positioning, assemble the complete magic card together and you have a stunning magical card for this Valentine day! :D


Card 2: Simple Card with One Fun Stamp Set


Create a background on the base white card stock with distress inks and stencils.
Cut 2 pieces of plain white card stock, according to your preference, to make a panel on top of the base card.


Foam mount these 2 pieces on the base card.

Foam mount the fussy cut images on the card.
You have a fun filled greeting card perfect for the little on’s birthday :D


Tubby Craft Products used:


Did you people check out the ongoing giveaway by Tubby Craft. If not, follow the link below and participate right now:


https://tubbycraft.blogspot.in/2018/01/tubby-crafts-giveaway.html
https://www.facebook.com/tubbycraft/posts/972567772919867
https://www.instagram.com/p/BeknsGdhdPx/?taken-by=tubby_craft

Thank you for stopping by. Have a great day!

Devika

Comments

Post a Comment

Popular posts from this blog

ATC coins using mini stamps

Hello there, This is Priyadarshini here today, I have ATC coins here today using stamps from Tubby craft. I have used 3 different stamps to make these. They are easy and quick to make and absolute fun too. I have a common base here which is black cardstock and die cut small circle from white cardstock. I created different background for each using stencils and inks from Tubby craft.  What are Artist trading coins? They are miniature art created on 2.5"circle of heavy base cardstock.  ATC with stenciled background                      First, I stenciled the white cardstock using stencils and dye inks. Then added this to a black circle die cut.  Inks used are:  Turquoise ,  Olive green ,  Lavender violet I offset the stencil to get a a complete stenciled background. I stamped the images from  Lovely Owl  and  Butterfly Love  and coloured them with colour pencils.  To embellish, I added corrugated sheet,cotton gauze and twine.  To finish the coins, I added

Tubby Craft - Penguin Love - Birthday Cards by Deepti

Hello Everyone, I'm stopping by to share two birthday cards using cute Tubby Craft stamp called "Penguin Love" and "Birthday Wishes". I have used Masking technique to make both the cards. Card 1 To make this card, I die cut out the white card stock and stamped the penguins by masking them using Black tubby craft ink. Once satisfied, I stamped the balloons too and colored all these images using alcohol markers. After that I stamped the sentiment on white strip and adhered the same using foam tape along with washi tape. Glued it on Pista green card stock. Finally added some clear sequins to complete it. Here is my second card using same stamp set.. For this card also, I die cut out white card stock . Then I stamped the image and masked it to ink the background. After that I stamped the balloons and the sentiment. Added stamped and fussy cut gift too.  Finally adhered it on matching note card and added some matching s

Two amazing anniversary cards by Anushree

Hi Everyone !! Hope you all are doing good and crafting too. I have two cards for today. I have highlighted  different techniques for each card. Onto my first card, I have tried showcasing repeated stamping in a border style . I have used Plumeria Florals stamp set and Jet Black dye ink from Tubby craft to stamp the border first. Next I chose Imperial Red and Lead gray dye inks from Tubby Craft to color my florals. Sentiment is a die cut on Gold card stock and the card is embellished in gold peals. For border,I have adhered Gold border die cut to enhance the card on a black cardstock. Now onto my second card, I am using Checkered Stencil for the background .I have used rainbow colors from Tubby Craft Dye ink collection to put them on paper using blending brushes. I masked the center with a circle die cut before applying inks to the card base. Once stenciled background is ready,I removed the mask and stamped sentiment from Luc