
GD Post : Flip Cards with Giraffe Love and One Fun Stamp Sets + Tubby Craft Inks

Hi All!

This is Priya for Priya-n-Papers. It is my last GD post for Tubby Craft. Today, I have 2 very colorful flip cards to share using Tubby Craft stamps and Inks. Flip cards are fun to make and opens up with added dimensions. It has a linked window in the middle which flips when you open the card! How cool! isn't it? For both the cards, I have made my own backgrounds using Tubby Craft inks. At the end, I will have a wrap up of my experience with Tubby Craft inks. 


Card 1 :Just Because I love You Card
 For this card, I used Giraffe Love stamp set and various Tubby Craft inks to make background for cards.
I have colored the cute giraffe images using zig clean and clear real brush markers and fussy cut these.

This is how it looks from inside when you open it. I have decorated the inside as well to complete the card.

Card 2 : One is Fun
For this card I used One Fun stamp set. This is my personal favorite among Tubby Craft stamps. This is apt to create 1st birthday cards and I think this is quite unique which I have not seen any stamp company making it.
For this card, I again created my background or base panel by ink blending over balloons stencil and used rainbow of colors to make it as colorful as it can be.
I colored the cute number 1 stamp set using zig clean clear brush markers.

This is how flip card will open up! I couldn't resist myself to ink blend a standalone balloon for inside!

Tubby Craft Inks Wrap Up :
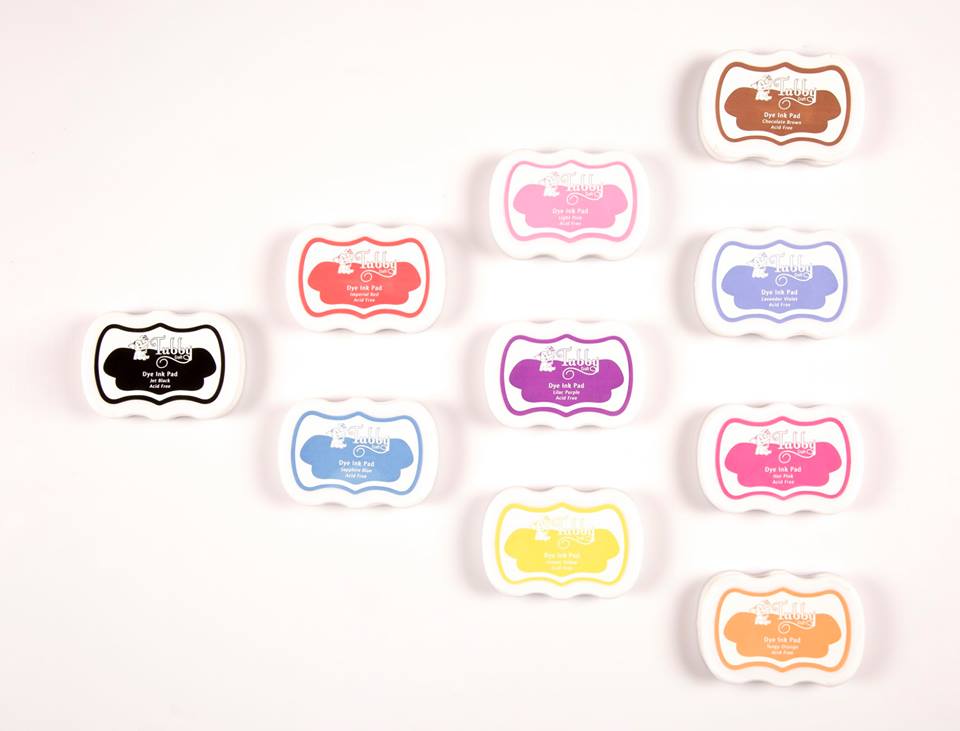
I was super thrilled when Shruti informed me about launch of quality and affordable made in India craft dye inks and wanted to try it badly. Believe me guys, these are must-haves in every card maker's stash because of it's super cool properties.

Ink Properties :
1. Crisp impressions while stamping
2. Water reactive and appropriate for water coloring
3. Vibrant colors
4. Copic and Zig marker friendly

Ink Uses :
1. Solid Stamping
2. Watercoloring outlined images
3. Ink blending with/without stencils to create your own pattern papers.
4. Make your own color cardstock if you don't have a particular color or you want cardstock matching your ink color. Like in 1st card, I made grass by ink blending Lawn Green ink pad over a white piece of cardstock.
The possibilities with these inks are limitless.

Packaging : 
1. Tubby Craft inks comes with color labelling, so you don't have to spend time organizing and labelling the ink boxes. Just look at the color label and pick your favorite!

2. Tubby Craft ink pad has little grooves at the lid which helps to stack these easily. It creates a locking mechanism which helps in stacking them on top of each other. I also like the shape of the ink box personally, it has little curves on both sides which makes a grip with fingers and makes it easy to handle the lid/inkpad.

Price :
Rs. 100/- per ink pad! Can you believe it? Now you have no excuse to have it in your stash!

Products Used :

One Fun Stamp Set

Giraffe Love Stamp Set

Tubby Craft Inks 

Tubby Craft products are available at following online retailers - 


I hope you like this post. Please drop in your comments and let us know if you have any questions related to Tubby Craft stamps and inks.

Thanks for stopping by. Have a great day!

Hugs,
Priya

Comments

Post a Comment

Popular posts from this blog

ATC coins using mini stamps

Hello there, This is Priyadarshini here today, I have ATC coins here today using stamps from Tubby craft. I have used 3 different stamps to make these. They are easy and quick to make and absolute fun too. I have a common base here which is black cardstock and die cut small circle from white cardstock. I created different background for each using stencils and inks from Tubby craft.  What are Artist trading coins? They are miniature art created on 2.5"circle of heavy base cardstock.  ATC with stenciled background                      First, I stenciled the white cardstock using stencils and dye inks. Then added this to a black circle die cut.  Inks used are:  Turquoise ,  Olive green ,  Lavender violet I offset the stencil to get a a complete stenciled background. I stamped the images from  Lovely Owl  and  Butterfly Love  and coloured them with colour pencils.  To embellish, I added corrugated sheet,cotton gauze and twine.  To finish the coins, I added

Tubby Craft - Penguin Love - Birthday Cards by Deepti

Hello Everyone, I'm stopping by to share two birthday cards using cute Tubby Craft stamp called "Penguin Love" and "Birthday Wishes". I have used Masking technique to make both the cards. Card 1 To make this card, I die cut out the white card stock and stamped the penguins by masking them using Black tubby craft ink. Once satisfied, I stamped the balloons too and colored all these images using alcohol markers. After that I stamped the sentiment on white strip and adhered the same using foam tape along with washi tape. Glued it on Pista green card stock. Finally added some clear sequins to complete it. Here is my second card using same stamp set.. For this card also, I die cut out white card stock . Then I stamped the image and masked it to ink the background. After that I stamped the balloons and the sentiment. Added stamped and fussy cut gift too.  Finally adhered it on matching note card and added some matching s

Two amazing anniversary cards by Anushree

Hi Everyone !! Hope you all are doing good and crafting too. I have two cards for today. I have highlighted  different techniques for each card. Onto my first card, I have tried showcasing repeated stamping in a border style . I have used Plumeria Florals stamp set and Jet Black dye ink from Tubby craft to stamp the border first. Next I chose Imperial Red and Lead gray dye inks from Tubby Craft to color my florals. Sentiment is a die cut on Gold card stock and the card is embellished in gold peals. For border,I have adhered Gold border die cut to enhance the card on a black cardstock. Now onto my second card, I am using Checkered Stencil for the background .I have used rainbow colors from Tubby Craft Dye ink collection to put them on paper using blending brushes. I masked the center with a circle die cut before applying inks to the card base. Once stenciled background is ready,I removed the mask and stamped sentiment from Luc