Hey crafty people!

It's Tasha here with some inspiration that is for all things love! It's already February, and this month we usually celebrate our love, but that can be any type of love, it all deserves celebrating! So I am here to offer inspiration for three cards who could each be for a different love in your life; partner, mother, child, friend or anyone else you want to bring a smile to.

I started with the background, which I stamped using Lace Pattern; I used Lead Grey ink to stamp this onto an a2 panel of grey cardstock for a subtle tone on tone look. I decided to give the card a vignette sort of style by also blending some of the grey ink around the edges, fading into the lighter cardstock colour in the centre. This all just gives the background interest & texture.

I took this gorgeous black & red patterned paper from the DIY Papercraft Kit and cut it with a decorative die; I glued my couple onto it, then I stuck this whole piece on the upper half of my card panel.

I stamped some of the hearts from the same stamp set in Imperial Red ink and fussy cut these. I decided to add a little shade onto the bottom of each heart, and then I glued these, along with some of the heart pieces from the embellishment mix included in the kit across my panel.


I was looking through the paper pad included in the kit for a paper that I could mat this image onto and I had got it down to a choice of three, so I asked my husband for his opinion on which worked best; he pointed to this one and commented that it looked almost like the surface of the moon, so that was my choice made 100%!

I cut both using some nesting dies to allow an even border all the way round, and to give some additional interest on my card design.
I popped the panels up onto each other with foam adhesive for dimension and added some of the hearts from the embellishment pack.
I also added some Nuvo Glaze to the window of the space ship, just as a fun little extra.


I glued the pairs of die cuts onto a piece of printer paper, interlocking each one together to make one solid piece. Then I could add foam adhesive onto the back of that, before putting it onto my background panel.
I used some of the Chocolate Brown ink to create a similar vignette effect as I used in the first card on a piece of Buff cardstock, then I stamped my sentiment from the Couple Hugs stamp set, using the same, and I trimmed it down then popped it up on foam adhesive too.
I used some of the gold hearts from the embellishment mix to add some sparkle and interest.
I think this would be a lovely way of sending a socially distanced hug to a dear friend!

I hope that you enjoyed the cards that I have for you today, and if you are feeling inspired to create something similar then please do share it with us by tagging both myself, @handmadebytasha13 and @tubby_craft
I hope you have a wonderful, happy week!
Stay crafty!!!
Byeee!
 |
| DIY Papercraft Kit |
 |
| Jet Black Ink |
 |
| Imperial Red |
 |
| Chocolate Brown |
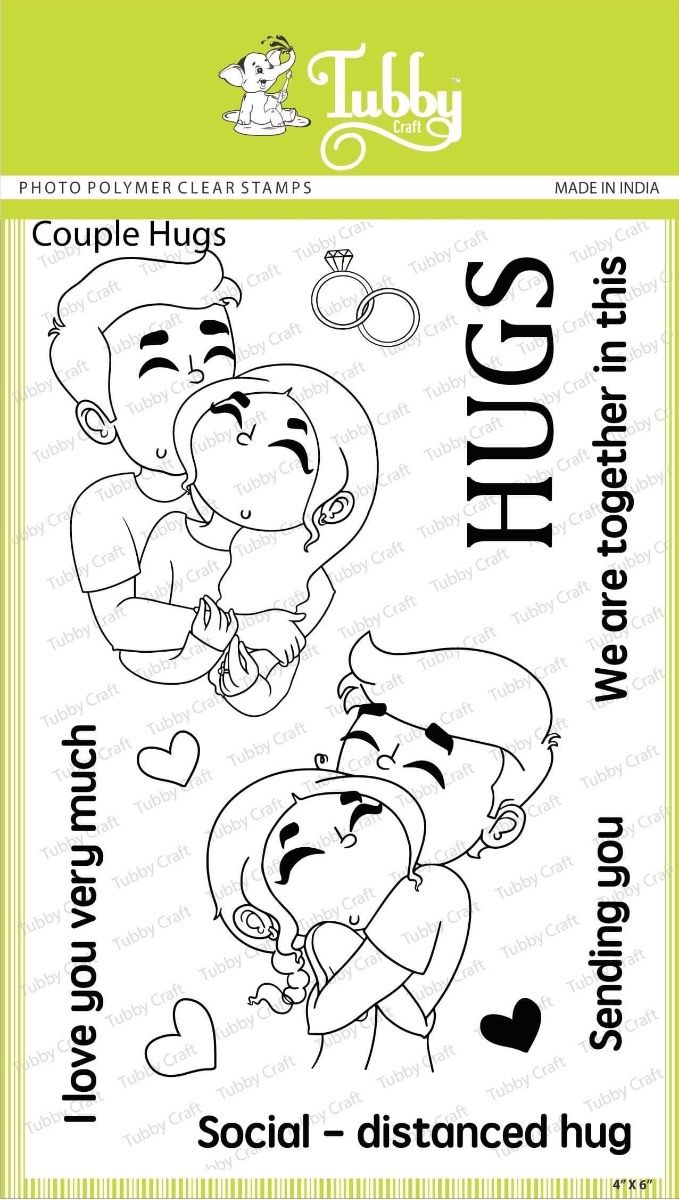 |
| Couple Hugs |
 |
| Lace Pattern |
 |
| Lead Grey |
 |
| Love Moon |
Comments
Post a Comment