Hey Crafty People!
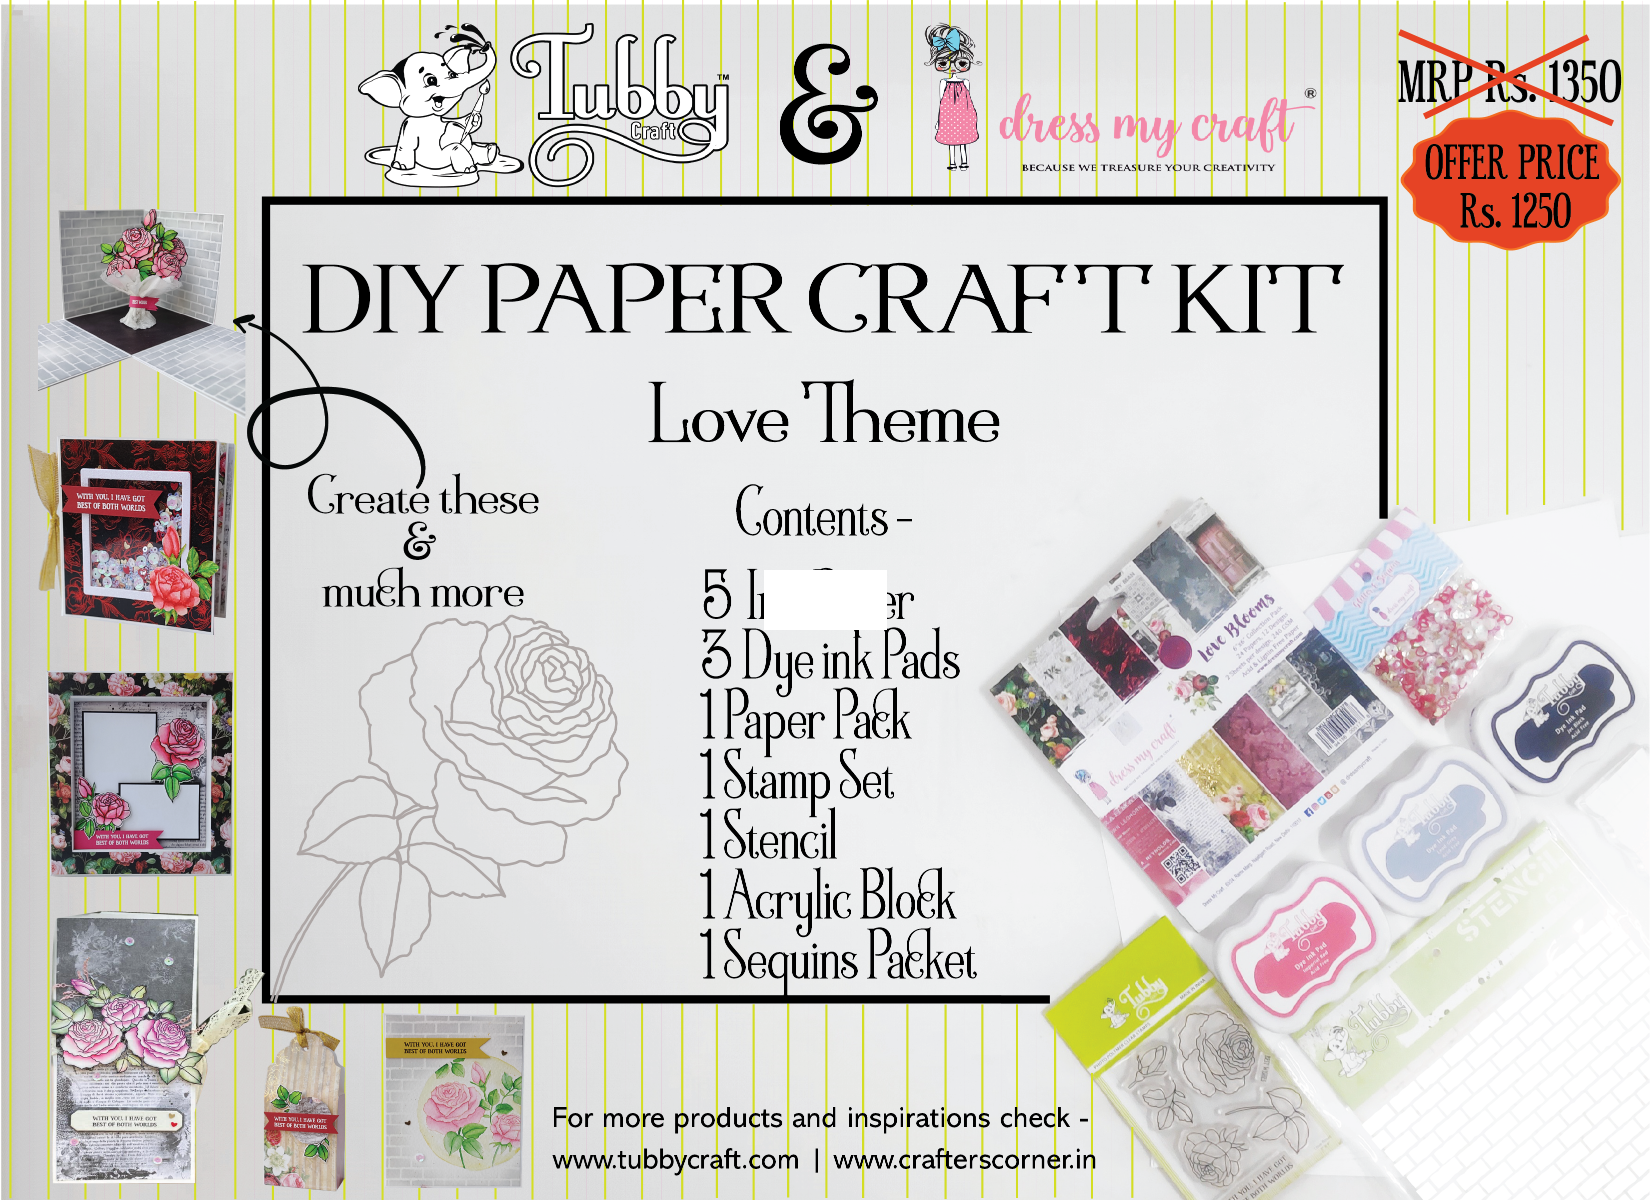
It's Tasha here today, sharing four cards I made using the awesome DIY Papercraft Kit - Love Theme, you can see how I put all of the cards together and some super quick background ideas.
All of my cards use some of the images from the stamp set that I put together really simply:
Roses
I chose two papers from the patterned paper pad that I thought would work well as the Roses themselves and the stems & leaves.
I stamped the various flowers and leaves onto their corresponding patterned papers using Ultra Slow Drying embossing ink and added some super fine embossing powder in the colour Platinum. Once they were heat set, I fussy cut each one and glued together the various blooms, stems & leaves. I love how they turned out!!!
This is a super fun and easy way to get lots of no colour roses in a pretty quick way!!
Card 1
I added a few of the paper pieced roses and leaves either side of the sentiment, and added them all on top of the spotlight ink blending! A few hearts & sequins from the embellishment mix finished it off nicely.
Card 2
Another really quick and simple way I love to add interest onto my background is with some score lines. This is so simple to do and the different possible designs are really endless!!!
This time I added two vertical score lines to the left of my panel, then flipped it to add another two horizontal lines at the top.
I stamped one of the sentiments from the stamp set onto some more Neenah 80lb using Jet Black ink; I cut this down and added it over the rose stem.
I glued the whole focal element onto my scored card panel and I finished off the design with a few of the sequins and hearts from the embellishment mix.
Card 3
I cut a piece of the patterned paper down using an a2 panel nesting die and I fussy cut this beautiful lacy border from another piece of the patterned paper.
I popped the lacy strip up on
adhesive foam squares down the right hand side of the panel, and then glued one
of my roses to the left hand side.
I finished it with another of the stamped sentiments, again stamped in Jet Black, and finished with some of the embellishment mix.
Card 4
I cut another panel using the same die from a different sheet of the patterned paper, but this time I also die cut a heart in the bottom right hand corner. This would be my shaker window! I chose some of the patterned paper off cut I had left as my backing paper that you would see through the heart.
For my shaker itself I grabbed a piece of packaging that I no longer needed, and I cut it down so that two side were still sealed and I had two sides open.
I placed my patterned paper backing piece inside this and sealed another edge with some double sided tape. This gives me a pocket with only the top open and I poured a bunch of the embellishment mix into this pocket, making sure they were in front of the patterned paper.
Once I was happy that it was full enough I sealed the top with double sided tape and folded it over to secure it again; I definitely don't want anything escaping!!
I used double sided tape to attach this whole shaker pocket to my card front, making sure it was lined up correctly behind my heart window.
Then I added foam adhesive tape on the back of the panel, leaving the shaker window free of this, but adding some liquid glue to the back of the pocket. I attached it to an a2 card base and gave it a good shake to test how it worked; looking good!!
The paper that I used for my panel has these gorgeous flowers on the top and bottom; when I cut the panel I kept one set of flowers on the bottom. I fussy cut the other set of flowers from the leftover paper and then I glued these to the top of the panel, I think that's my favourite bit of the whole card!
I finished it with some of the embellishment mix and a tiny sentiment, stamped onto Neenah 80lb with Imperial Red ink.
I absolutely love the cards I made today and I hope it gives you a few ideas of how you can use all of the separate items in the kit and put them together to get some awesome designs; whether that be for card making, scrapbooking or more!!
I've made quite a few cards now with this kit and I have SO MUCH leftover!!!! The stamp set, stencil and inks are yours to use any time you'd like and I have used the patterned paper loads but I've barely scratched the surface in terms of how much is left!! The embellishment mix will last a lifetime!!
Thanks for spending this time with me today, I always appreciate it so.
Have a lovely, safe & happy week!
Stay crafty!
Byeee!
HandmadeByTasha
Instagram | Youtube | Blog | Facebook
 |
| DIY Papercraft Kit - Love Theme |


Comments
Post a Comment