Creating Three Cards with the DIY Papercrafting Kit | Blog Post with Tasha!

Hey Crafty People!

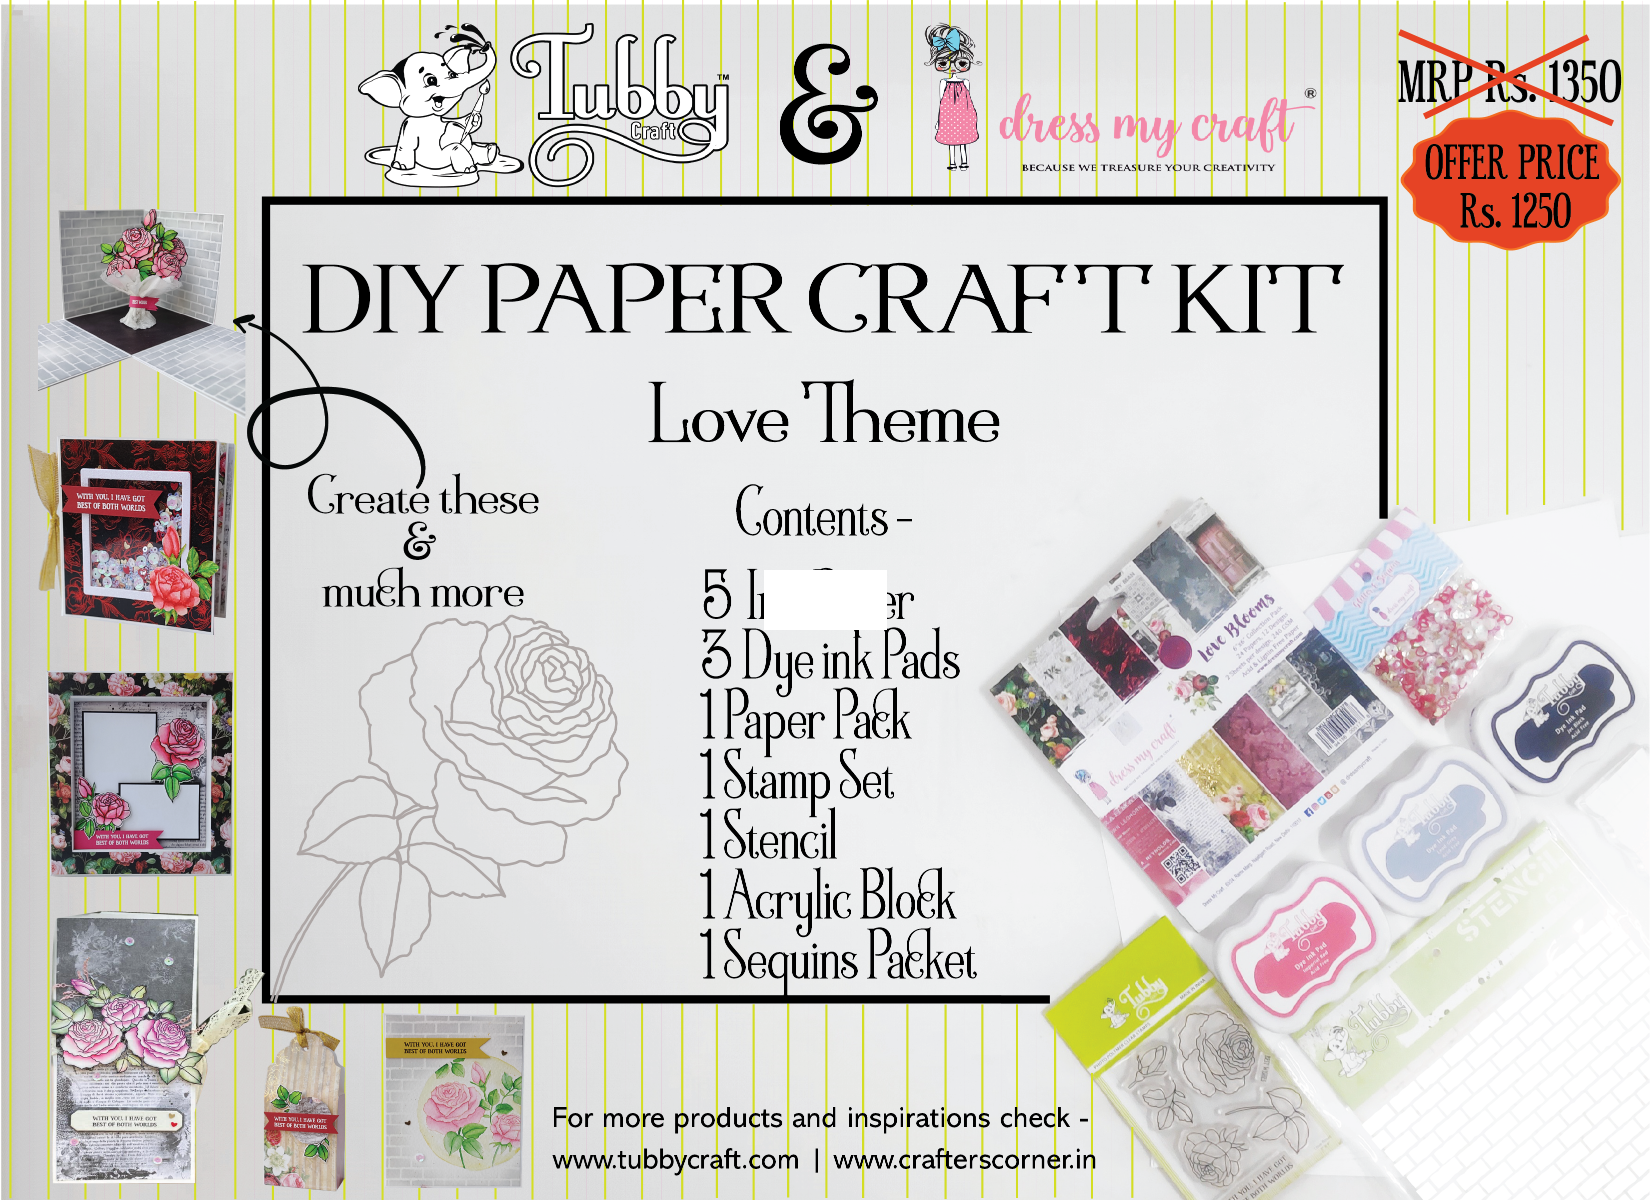
When I saw the gorgeous patterned paper and ink colours included in the DIY Papercraft Kit - Love Theme, straight away I wanted to create a pair of cards that were each the opposite of each other!

I really love to play with colour like this, and the papers and ink colours that are included are the perfect match for this kind of style!


Backgrounds


I chose my two papers and stencilled over the top of both of them, using the Bricks Stencil that is part of the kit and some clear, holographic glitter paste.


I didn't want to cover the whole background, and I didn't want the stencilling to be perfect; so I started towards the bottom corner and worked upwards & outwards, making sure to allow the paste to just trail off organically.


Then I needed to let these dry, so I set them aside and worked on my floral elements.


Painting With Ink!


I used the Tubbycraft Jet Black ink to stamp out two of the large blooms, two stems and two buds from Love Roses stamp set onto some Distress Watercolour paper; smooth side.

I was feeling much too impatient to leave this to dry naturally, so instead after a few minutes I grabbed my dual speed heat gun and heat set the ink on the lower setting, constantly keeping it moving, so as not to warp the paper.


I started with the red Rose and painted both the large bloom & the little bud using just the Imperial Red ink that was also part of the kit.

I always paint on my glass mat so that I can use the space around where I'm working as a giant palette. So I pressed the ink pad straight down onto the glass and then used a small amount of water to add colour to the Rose, one petal at a time.


I like to start by adding the deepest, most concentrated colour to the base of the petal, and anywhere that there would be a shadow; then I use more water with the ink, to get lighter shades as I moved up the petal.


You need to make sure that when you go to paint a petal, there are no other wet areas touching it or your pigment will spread in directions you don't want it to.

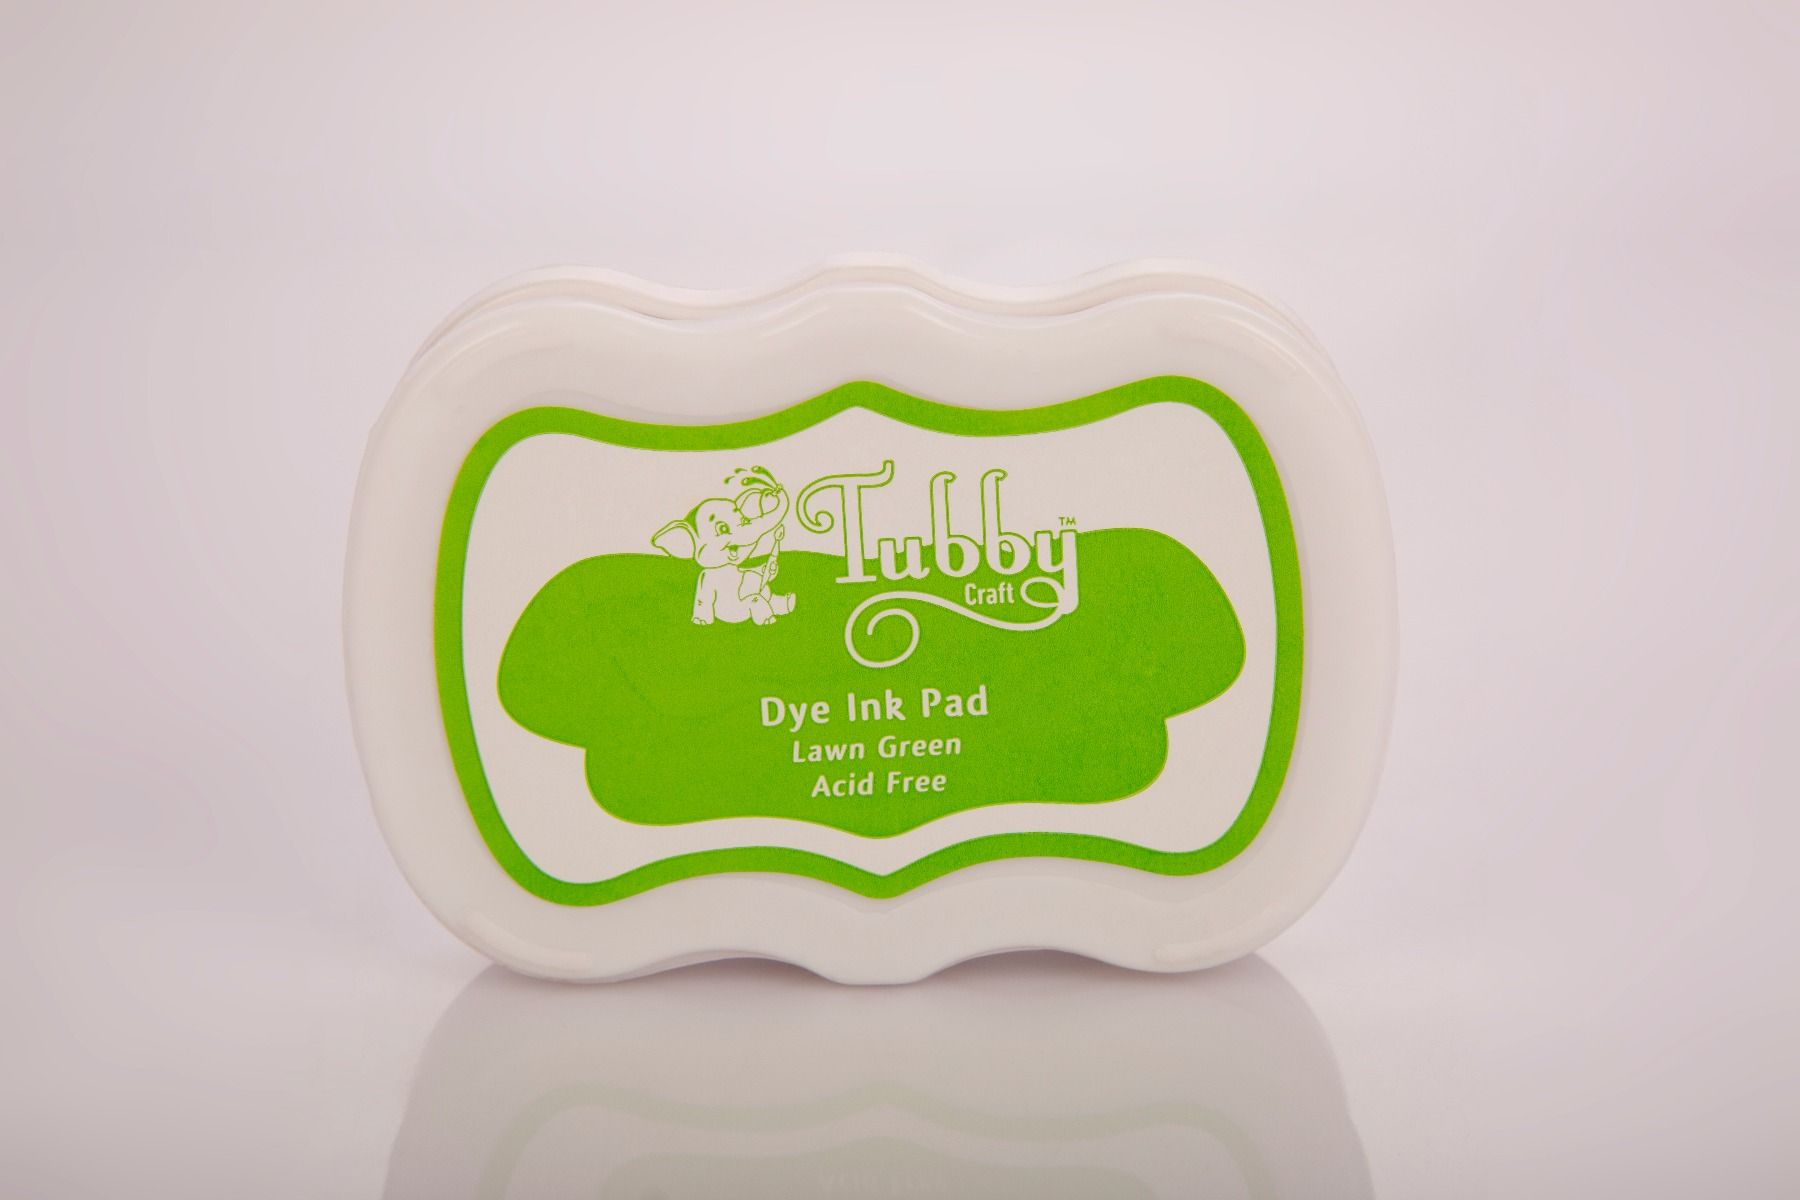
I grabbed Olive Green Dye Ink and Lawn Green Dye Ink to do the stem and leaves.


I followed the exact same process whilst painting the other flower, but this time I used the Lead Grey ink as my watercolour medium to give me that grey scale Rose that I was looking for.

I'm super happy with how they both turned out! The Tubby Craft inks are really a joy to paint with, so if you've never tried it before then please give it a go!


If you do, don't forget to tag us so that we can see your projects! You can tag @Tubbycraft and @handmadebytasha we absolutely love to see what you've all been making!


Assembling The Cards


I fussy cut all of my painted elements, once they were fully dry and then stamped one of the sentiments from the set on some Neenah Solar White 80lb and trimmed this down to a neat strip.

I used a 4.25 x 5.5 inch rectangle die to cut my backgrounds down to size; this ensures that my panel will be the correct size, but it also means that I get to choose the exact part of it to use which is perfect.


I popped my flowers and sentiment up on some foam tape to give me lots of dimension.

That finished both cards off!


Super Quick Cardmaking!

The patterned paper that comes with the card kit has so many beautiful designs, but when I saw this floral one I knew that it was perfect for an instant background!

I just added a die cut sentiment from plain Neenah cardstock & vellum and some white Nuvo Drops!

Simple, quick and easy!


Stay safe, stay healthy and stay crafty, my friends!

Byeee!

Handmade By Tasha

@handmadebytasha13

DIY Papercraft Kit - Love Theme

Olive Green Dye Ink


Lawn Green Dye Ink

Comments

Popular posts from this blog

ATC coins using mini stamps

Hello there, This is Priyadarshini here today, I have ATC coins here today using stamps from Tubby craft. I have used 3 different stamps to make these. They are easy and quick to make and absolute fun too. I have a common base here which is black cardstock and die cut small circle from white cardstock. I created different background for each using stencils and inks from Tubby craft.  What are Artist trading coins? They are miniature art created on 2.5"circle of heavy base cardstock.  ATC with stenciled background                      First, I stenciled the white cardstock using stencils and dye inks. Then added this to a black circle die cut.  Inks used are:  Turquoise ,  Olive green ,  Lavender violet I offset the stencil to get a a complete stenciled background. I stamped the images from  Lovely Owl  and  Butterfly Love  and coloured them with colour pencils.  To embellish, I added corrugated sheet,cotton gauze and twine.  To finish the coins, I added

Tubby Craft - Penguin Love - Birthday Cards by Deepti

Hello Everyone, I'm stopping by to share two birthday cards using cute Tubby Craft stamp called "Penguin Love" and "Birthday Wishes". I have used Masking technique to make both the cards. Card 1 To make this card, I die cut out the white card stock and stamped the penguins by masking them using Black tubby craft ink. Once satisfied, I stamped the balloons too and colored all these images using alcohol markers. After that I stamped the sentiment on white strip and adhered the same using foam tape along with washi tape. Glued it on Pista green card stock. Finally added some clear sequins to complete it. Here is my second card using same stamp set.. For this card also, I die cut out white card stock . Then I stamped the image and masked it to ink the background. After that I stamped the balloons and the sentiment. Added stamped and fussy cut gift too.  Finally adhered it on matching note card and added some matching s

Two amazing anniversary cards by Anushree

Hi Everyone !! Hope you all are doing good and crafting too. I have two cards for today. I have highlighted  different techniques for each card. Onto my first card, I have tried showcasing repeated stamping in a border style . I have used Plumeria Florals stamp set and Jet Black dye ink from Tubby craft to stamp the border first. Next I chose Imperial Red and Lead gray dye inks from Tubby Craft to color my florals. Sentiment is a die cut on Gold card stock and the card is embellished in gold peals. For border,I have adhered Gold border die cut to enhance the card on a black cardstock. Now onto my second card, I am using Checkered Stencil for the background .I have used rainbow colors from Tubby Craft Dye ink collection to put them on paper using blending brushes. I masked the center with a circle die cut before applying inks to the card base. Once stenciled background is ready,I removed the mask and stamped sentiment from Luc