Hey crafty people!
It's Tasha here, thank you for joining me for another video tutorial post.
This month we are celebrating the Festival of Diwali & as someone who isn't a follower of Hinduism, I really enjoyed exploring some of the meaning behind this festival and how it is celebrated.
It's an honour to have the opportunity to create Diwali projects with the rest of the Tubbycraft Design Team.
I had some fun playing with some of the gorgeous stencils that we have along some silver & gold metallic pastes from Nuvo.
I used:
When I'm doing a messy technique like this, I like to make the most of having all of my supplies out and make a ton of backgrounds in one go. I don't usually turn them all into cards straight away, but I like to have them around for making quick cards.
Card 1


I used some letter dies from Altenew to cut out 'Diwali' from some mixed media paper, then used my Imperial Red, Tangy Orange & Lemon Yellow ink pads to colour the letters by taking my ink pad directly to the paper.
Tip! I love to stack up my die cut sentiments to give me a bolder look.
I used vellum to mount my sentiment to the background and added lots of gold sequins and brightly colour gems for maximum sparkle!
Card 2


I cut one of my background panels in half diagonally and then used each half for a different card; this stretches those backgrounds out even more than we already have with the two for one!
I heat embossed two of the floral images and the larger sentiment from BRIGHT DAY stamp set onto vellum. I used my Jet Black ink and added clear matte embossing powder onto the images as soon as they were stamped; you can emboss onto vellum this way because the surface is non porous.
Tip! Make sure your vellum is suitable for use with heat.
Card Three


I sliced the other half of the panel down and mounted them to a card base using liquid glue.
For this flower, I stamped with Jet Black and let this dry for a while before colouring in the image with my Copics.
My sentiment is from Adorable Runner stamp set, I thought it was a perfect sentiment to use round the Holidays.
I made a tiny bow from some Lawn Fawn string and added this to the base of the flower.
I'm looking forward to making more cards out of the rest of the backgrounds I have got left, so make sure to keep an eye out for them on my personal social media channels!
Thank you for spending this time with me. Don't forget to tag us on social media, we absolutely love seeing what you all make and also be sure to enter the monthly challenge on our Facebook Group for the chance to win!
Stay crafty!
Bye!!
Supplies Used:

 |
| Bricks Stencil |
 |
| Striped Geometric Stencil |
 |
| Brighter Day |
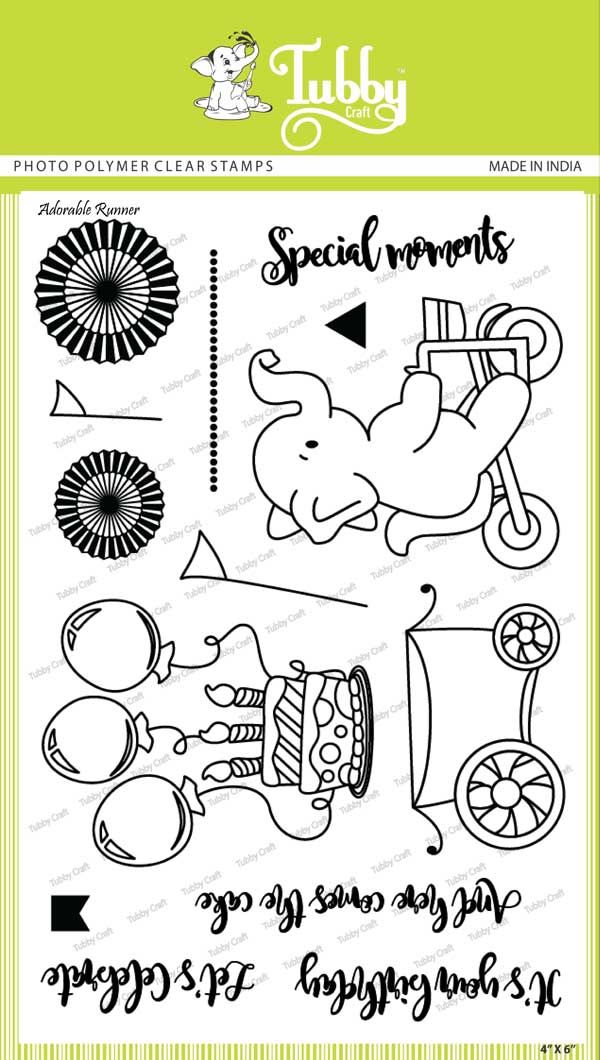 |
| Adorable Runner |
 |
| Imperial Red |
 |
| Lemon Yellow |
 |
| Tangy Orange |
 |
| Jet Black |
You can visit https://www.tubbycraft.com/ for the the supplies.
Tubby Craft products are available at following online retailers -
Comments
Post a Comment