Hey crafty people!
Tasha here with some more inspiration and this month I decided to use the sketch from our Facebook group's current challenge. I have three cards to share which all come from that sketch, but I wanted to show you three totally different ways you can choose to use it.

Card 1
I started off really simply, using the sketch in what is definitely my most literal interpretation.


For the line you can see in the sketch, I used the dashed line stamp from Manika stamp set, stamping it in Chinese Blue. Then I grabbed the 'I Love You' sentiment from the Couple Hugs stamp set and I used Imperial Red for that. You can see that I have very literally got a line with a sentiment above it, coming in from the left hand side at the bottom of my card, just like the sketch.
I did decide to add three hearts from the same Couple Hugs stamp set around my other elements just to add a bit of extra interest.
Card 2
I decided to step it up a little for this design, as well as flipping the whole sketch on its head quite a bit too!


I added a strip of Masking Magic in the lower part of my card panel, where the line is seen on the sketch.
Then I grabbed my Gradient Squares stencil and using a blending brush I added Tangy Orange across the whole stencil. Once I was happy with this I cleaned the stencil and then placed it back onto my panel, but shift slightly to the left, then blended on Lemon Yellow. This is a great way to stretch your supplies and get a different look out of a stencil!
Once I had finished ink blending I gently removed the masking strip and stamped my sentiment into that remaining white space using Jet Black ink.

Card 3
I went super abstract with my interpretation of the sketch for this final card and chose to use the sketch as a base that I could use to inspire the positioning of my design elements.


I used Jet Black to stamp the cute little Elephant riding a bike along with his little trailer and birthday cake from Adorable Runner. This is my representation of the line in the lower left of the card sketch; I know that this is so much more complicated than the sketch, but any sketch can be interpreted in whatever way you want! They are really just a way to kick start your creativity, so don't feel as though you can't explore out of the box!
I coloured my images using various Copic markers; I chose to keep to Primary Colours for a fun, playful look that would be perfect for a child's birthday!
Once I finished colouring I stamped my sentiment above the cake, so it is actually positioned in the same place as the sentiment on the sketch.
I matted my panel onto a nice, bright blue cardstock from my stash and then put the whole thing onto an a2 card base made from 110lb Neenah.
I added a little sparkle to the cake and balloons using a clear Wink of Stella brush pen.

Thank you for spending this time with me. Don't forget to tag us on social media, we absolutely love seeing what you all make and also be sure to enter the monthly challenge on our Facebook Group for the chance to win!
Stay crafty!
Bye!!
Supplies

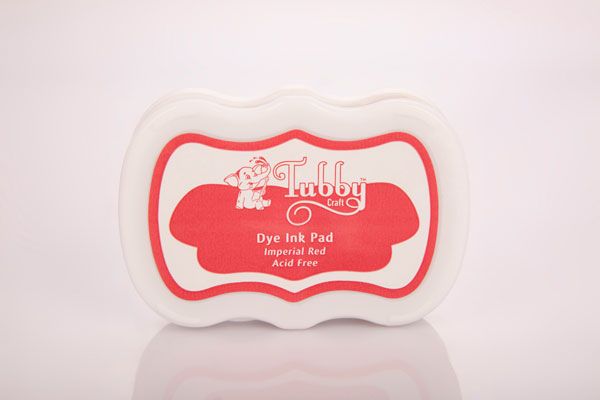 |
| Imperial Red |
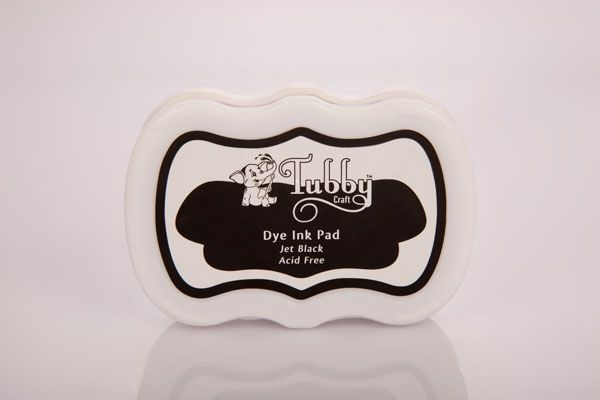 |
| Jet Black |
 |
| Lemon Yellow |
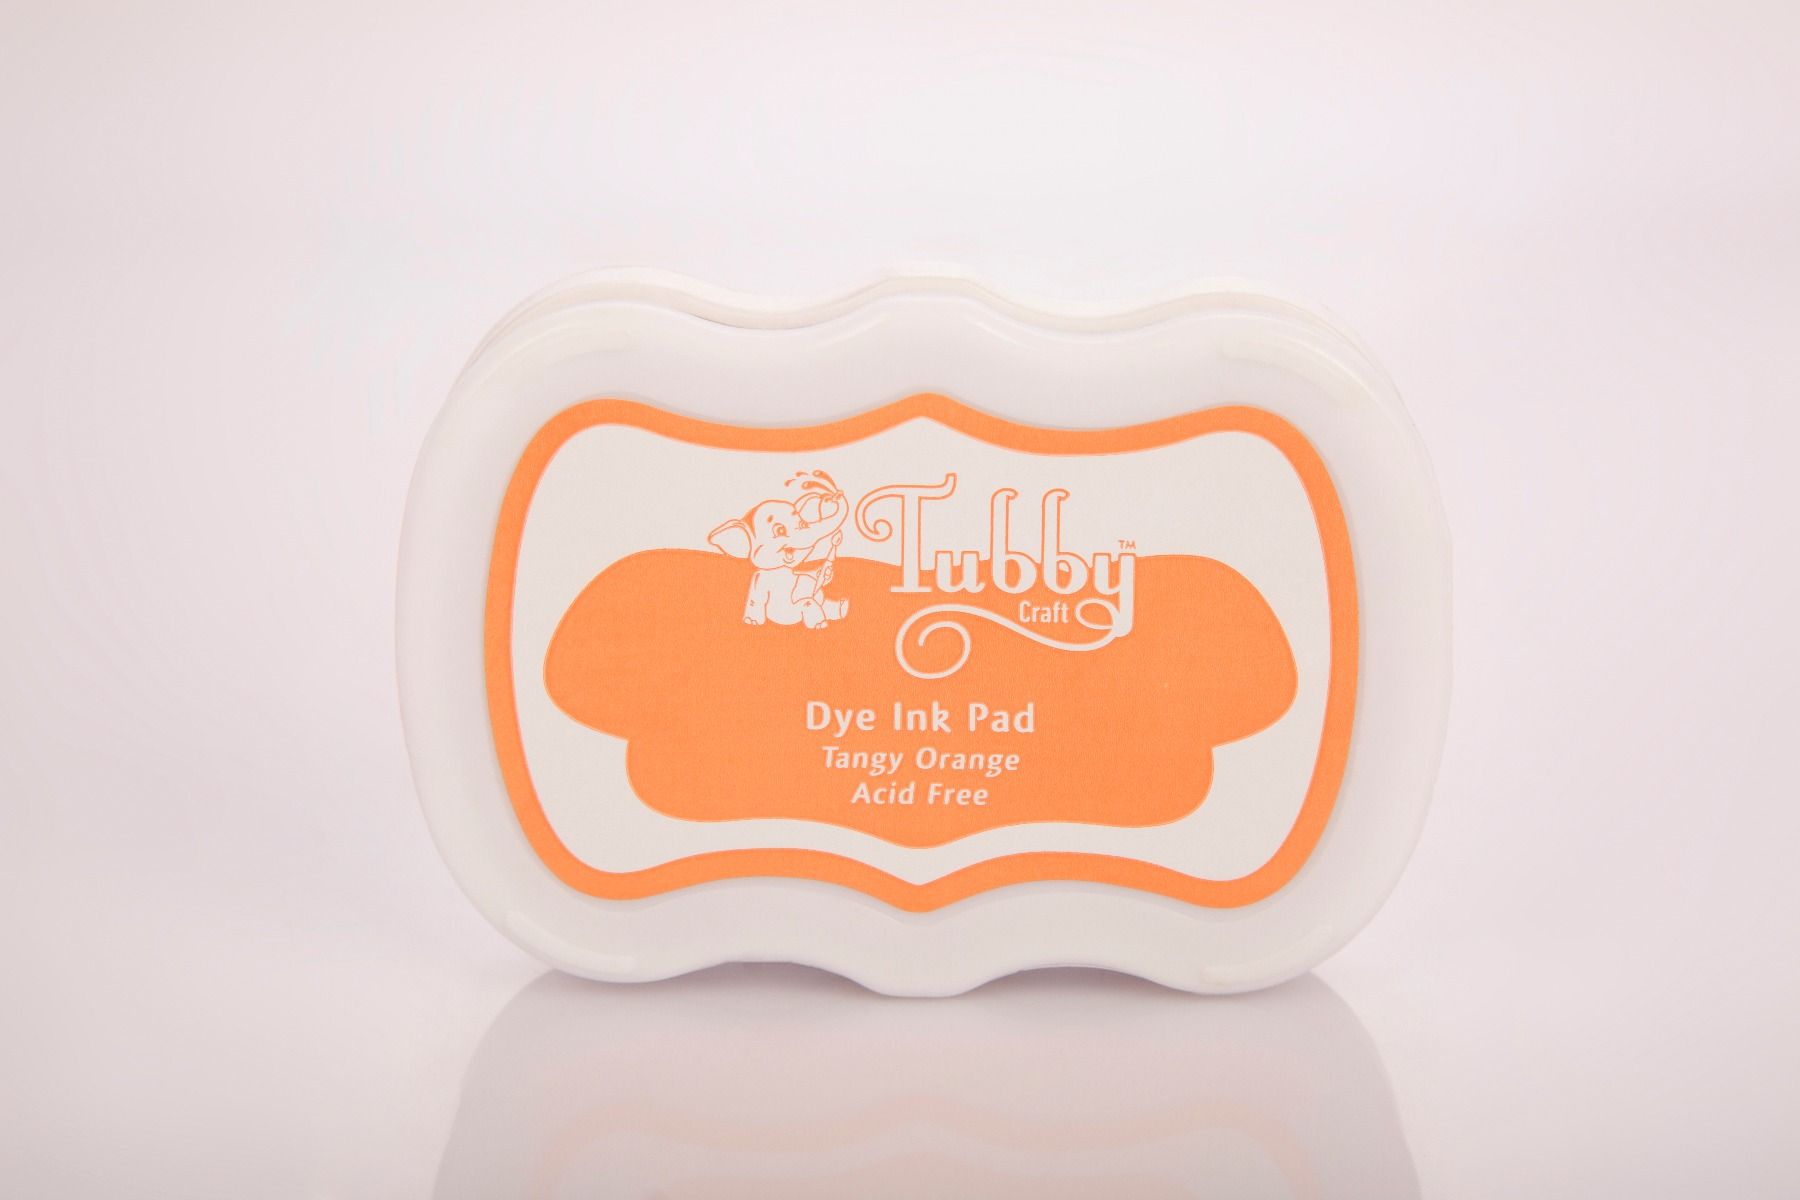 |
| Tangy Orange |
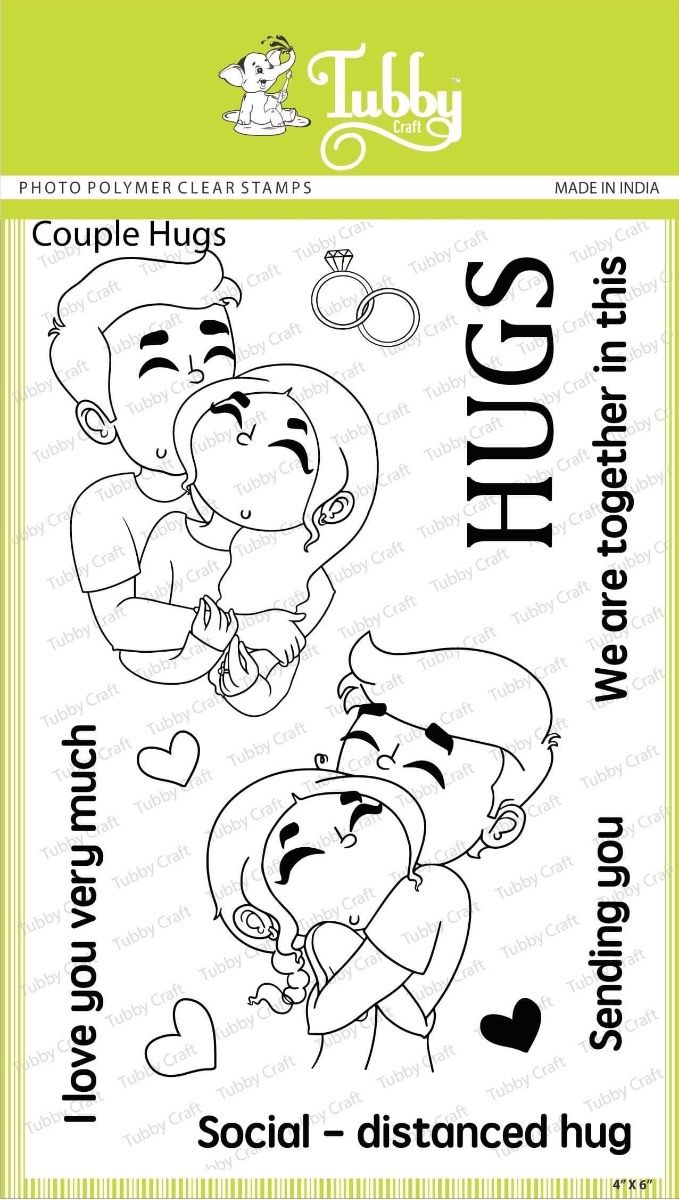 |
| Couple Hugs |
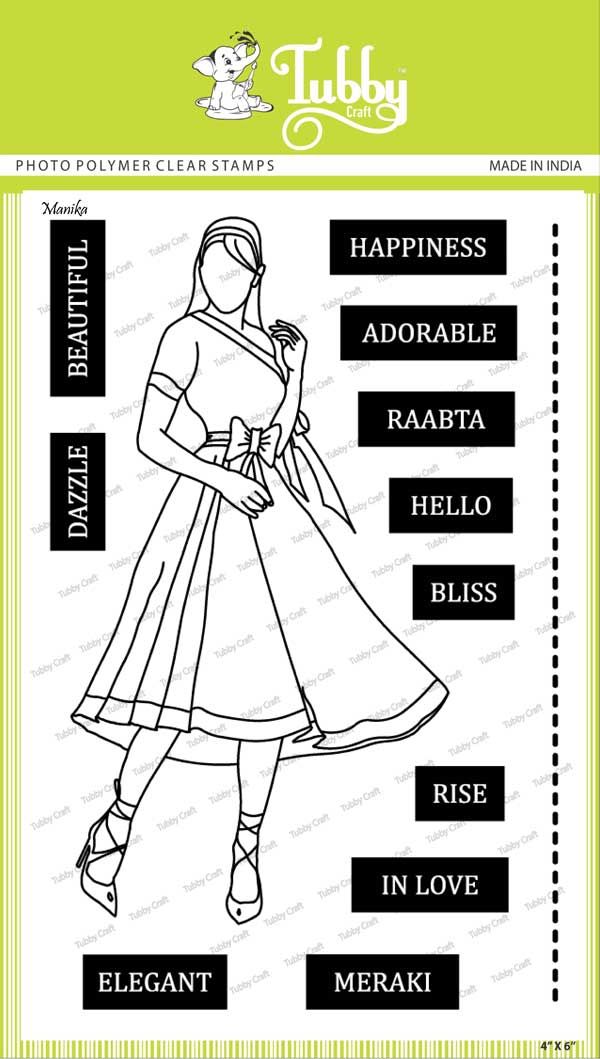 |
| Manika |
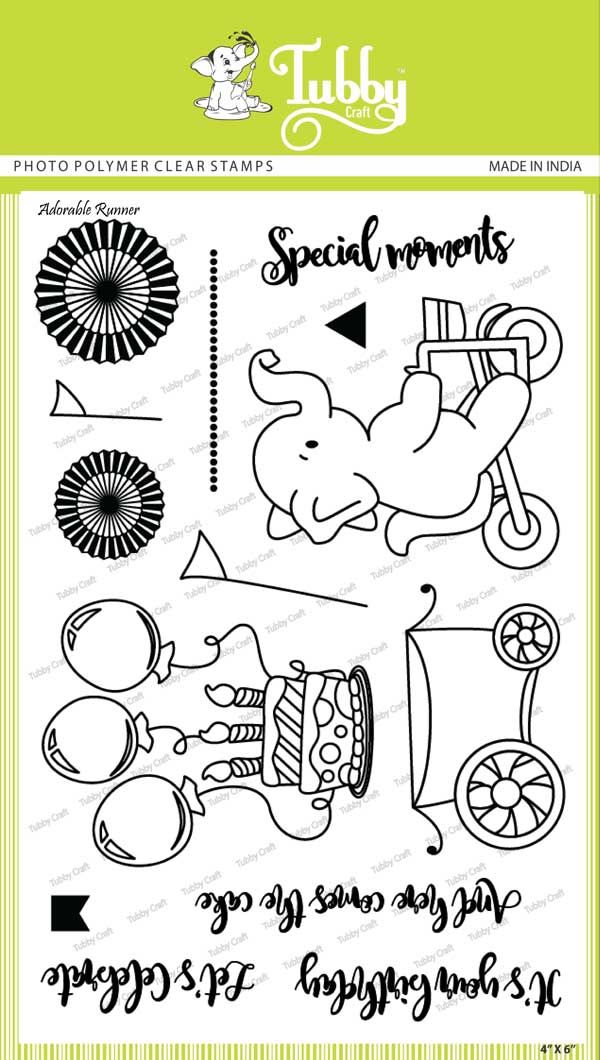 |
| Adorable Runner |
 |
| Gradient Squares stencil |
Comments
Post a Comment