
RESIST EMBOSS TECHNIQUE - DIWALI CARDS

 Hello friends. This is Anu, designer at Tubby Craft.

I hope you all are doing well & keeping safe. Firstly A very Happy Diwali to each one of you. This Diwali being a socially distanced one we all are trying to make & send our best wishes to our loved ones whom we might not going to meet personally this year. And to help you with that today i have 2 simple Diwali cards to share using a beautiful technique RESIST EMBOSS TECHNIQUE

I used the same technique for both the cards, lets see how
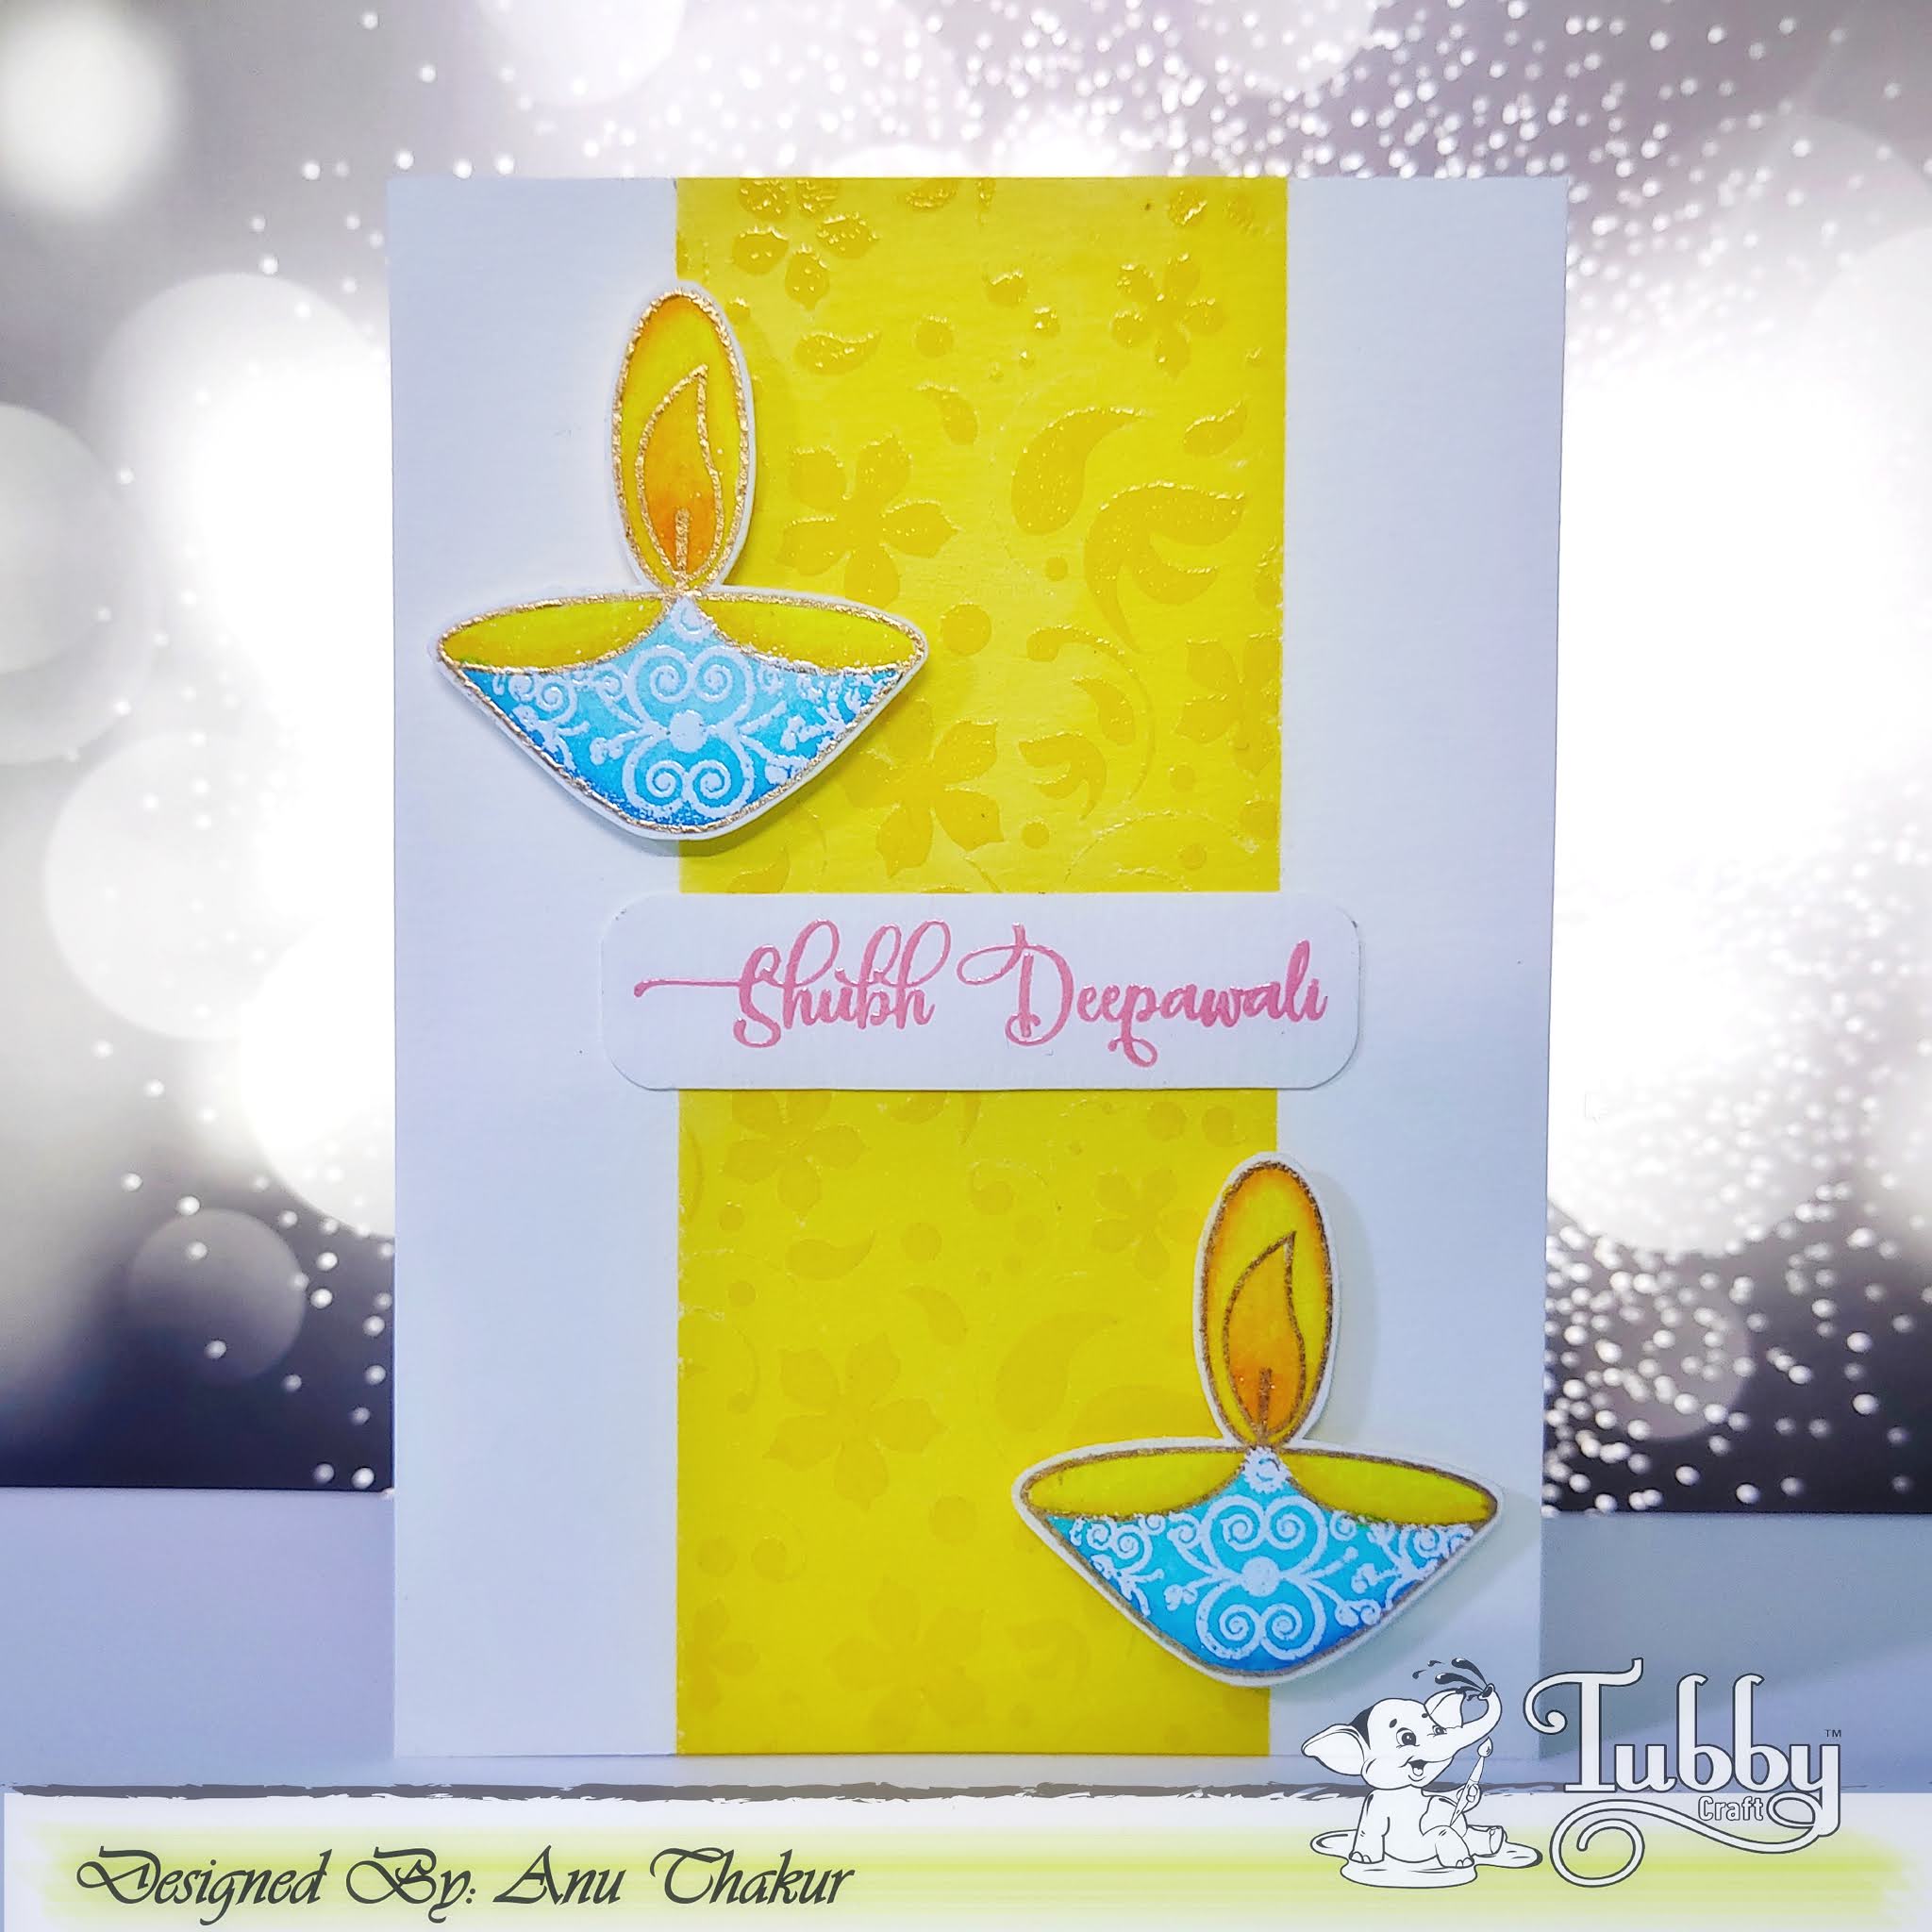
CARD 1

Follow steps to create:

1. Take a piece of white cardstock & mask the sides 1 inches from both left and right.

2. Apply MUSTARD YELLOW ink through FOLIAGE stencil & quickly sprinkle CLEAR EMBOSSING POWDER on it & then heat set it.


3. Now blend it again with YELLOW ink & remove the mask.

4. Stamp diya images with VERSAMARK & GOLD EMBOSSING POWDER, heat set it & color & cut.

5. Stamp shubh deepawali with HOT PINK ink apply CLEAR EMBOSSING POWDER on it & then heat set it.

6. Arrange all the elements & finally add it to a note card.

CARD 2

Follow steps to create:

1. Take a piece of white cardstock & mask the right side upto half.

2. Apply HOT PINK ink through FOLIAGE stencil & quickly sprinkle CLEAR EMBOSSING POWDER on it & then heat set it.


3. Now blend it again with YELLOW ink & remove the mask.

4. Stamp diya images with VERSAMARK & GOLD EMBOSSING POWDER, heat set it & color & cut.

5. Stamp happy diwali with VERSAMARK ink apply GOLD EMBOSSING POWDER on it & then heat set it.

6. Cut 2 pieces of square one from white & one in gold cardstock. layer them and add them in center.

7. Arrange all the elements & finally add it to a note card.

__________________________

I hope you liked this tutorial. Do leave some love in comments.

Until next time happy crafting.


SUPPLIES USED:

DIWALI GREETINGS STAMP SET

FESTIVAL GREETING STAMP SET

MUSTARD YELLOW INK

LEMON YELLOW INK

HOT PINK INK

FOLIAGE STENCIL

You can visit https://www.tubbycraft.com/ for the the supplies.

Tubby Craft products are available at following online retailers -


Comments

Popular posts from this blog

ATC coins using mini stamps

Hello there, This is Priyadarshini here today, I have ATC coins here today using stamps from Tubby craft. I have used 3 different stamps to make these. They are easy and quick to make and absolute fun too. I have a common base here which is black cardstock and die cut small circle from white cardstock. I created different background for each using stencils and inks from Tubby craft.  What are Artist trading coins? They are miniature art created on 2.5"circle of heavy base cardstock.  ATC with stenciled background                      First, I stenciled the white cardstock using stencils and dye inks. Then added this to a black circle die cut.  Inks used are:  Turquoise ,  Olive green ,  Lavender violet I offset the stencil to get a a complete stenciled background. I stamped the images from  Lovely Owl  and  Butterfly Love  and coloured them with colour pencils.  To embellish, I added corrugated sheet,cotton gauze and twine.  To finish the coins, I added

Tubby Craft - Penguin Love - Birthday Cards by Deepti

Hello Everyone, I'm stopping by to share two birthday cards using cute Tubby Craft stamp called "Penguin Love" and "Birthday Wishes". I have used Masking technique to make both the cards. Card 1 To make this card, I die cut out the white card stock and stamped the penguins by masking them using Black tubby craft ink. Once satisfied, I stamped the balloons too and colored all these images using alcohol markers. After that I stamped the sentiment on white strip and adhered the same using foam tape along with washi tape. Glued it on Pista green card stock. Finally added some clear sequins to complete it. Here is my second card using same stamp set.. For this card also, I die cut out white card stock . Then I stamped the image and masked it to ink the background. After that I stamped the balloons and the sentiment. Added stamped and fussy cut gift too.  Finally adhered it on matching note card and added some matching s

Two amazing anniversary cards by Anushree

Hi Everyone !! Hope you all are doing good and crafting too. I have two cards for today. I have highlighted  different techniques for each card. Onto my first card, I have tried showcasing repeated stamping in a border style . I have used Plumeria Florals stamp set and Jet Black dye ink from Tubby craft to stamp the border first. Next I chose Imperial Red and Lead gray dye inks from Tubby Craft to color my florals. Sentiment is a die cut on Gold card stock and the card is embellished in gold peals. For border,I have adhered Gold border die cut to enhance the card on a black cardstock. Now onto my second card, I am using Checkered Stencil for the background .I have used rainbow colors from Tubby Craft Dye ink collection to put them on paper using blending brushes. I masked the center with a circle die cut before applying inks to the card base. Once stenciled background is ready,I removed the mask and stamped sentiment from Luc