Hey crafty people!
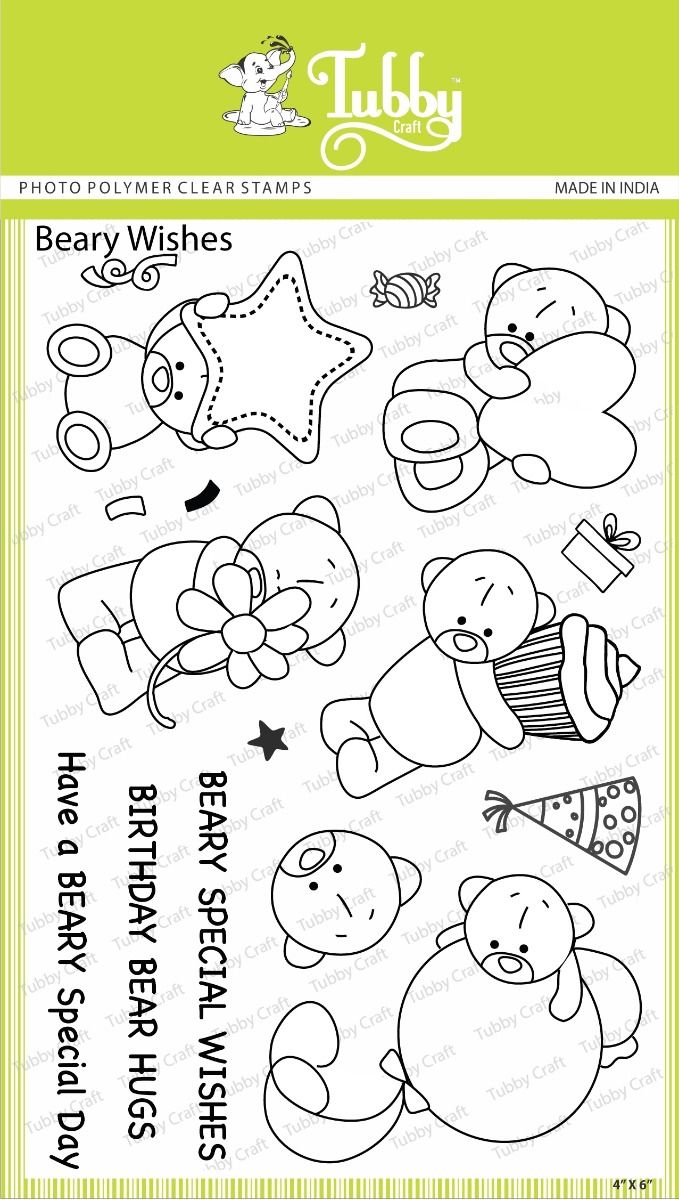
Tasha here with a super efficient ink blended background idea for getting two, or even three, backgrounds from one quick crafty session and a die cut mask. I'm also showing off the new Beary Wishes stamp set from October's launch, which is just so adorable!!
Making The Backgrounds
I started by die cutting a heart from an a2 panel of some inexpensive cardstock I have in my stash. (I use this because it's thicker so it can take a heavier layer of ink without it bleeding through onto your card panel.)
This gives you two pieces, we'll call these a stencil & a mask, with the heart being the mask and the panel it was cut from becoming a stencil.
Background Number 1

I used some low tack tape to attach the stencil onto an a2 panel of Neenah 80lb, just wrapping the tape over the edge of the two panels. This gives you a perfectly positioned heart stencil to ink blend over!
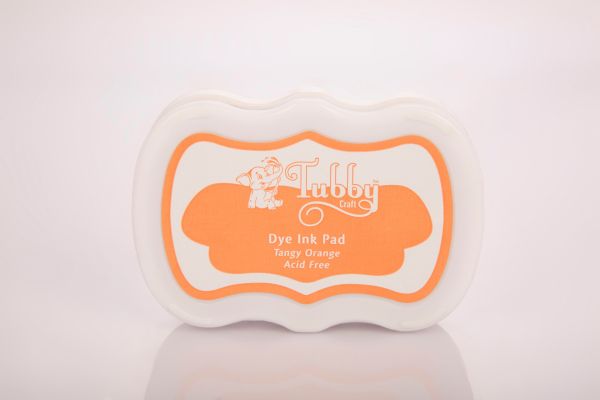
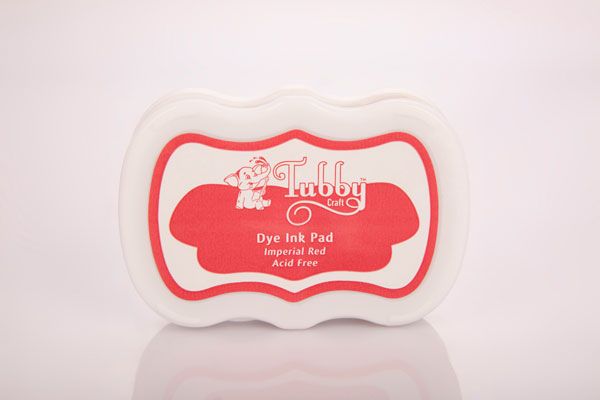
I used Tangy Orange dye ink in the center of the heart and Imperial Red around the edges to give this really beautiful, warm glow radiating out of the heart.
I absolutely love pulling the stencil off to see that gorgeous, crisp line at the edge of the ink blending!
Whilst dye inks do dry really quickly on the surface, this will need a little time to fully dry because there is a lot of ink on it!
Background Number 2

Now I turned my attention to the heart mask! I decided to place this to the left of my panel, so that part of the heart is actually hanging off the edge. I kept this in place with a little strip of repositionable adhesive tape on the back of the heart.
Tip! In order to make sure that I was left with an easily recognisable heart, I made sure that no more than 1/3 of the heart was off the panel.
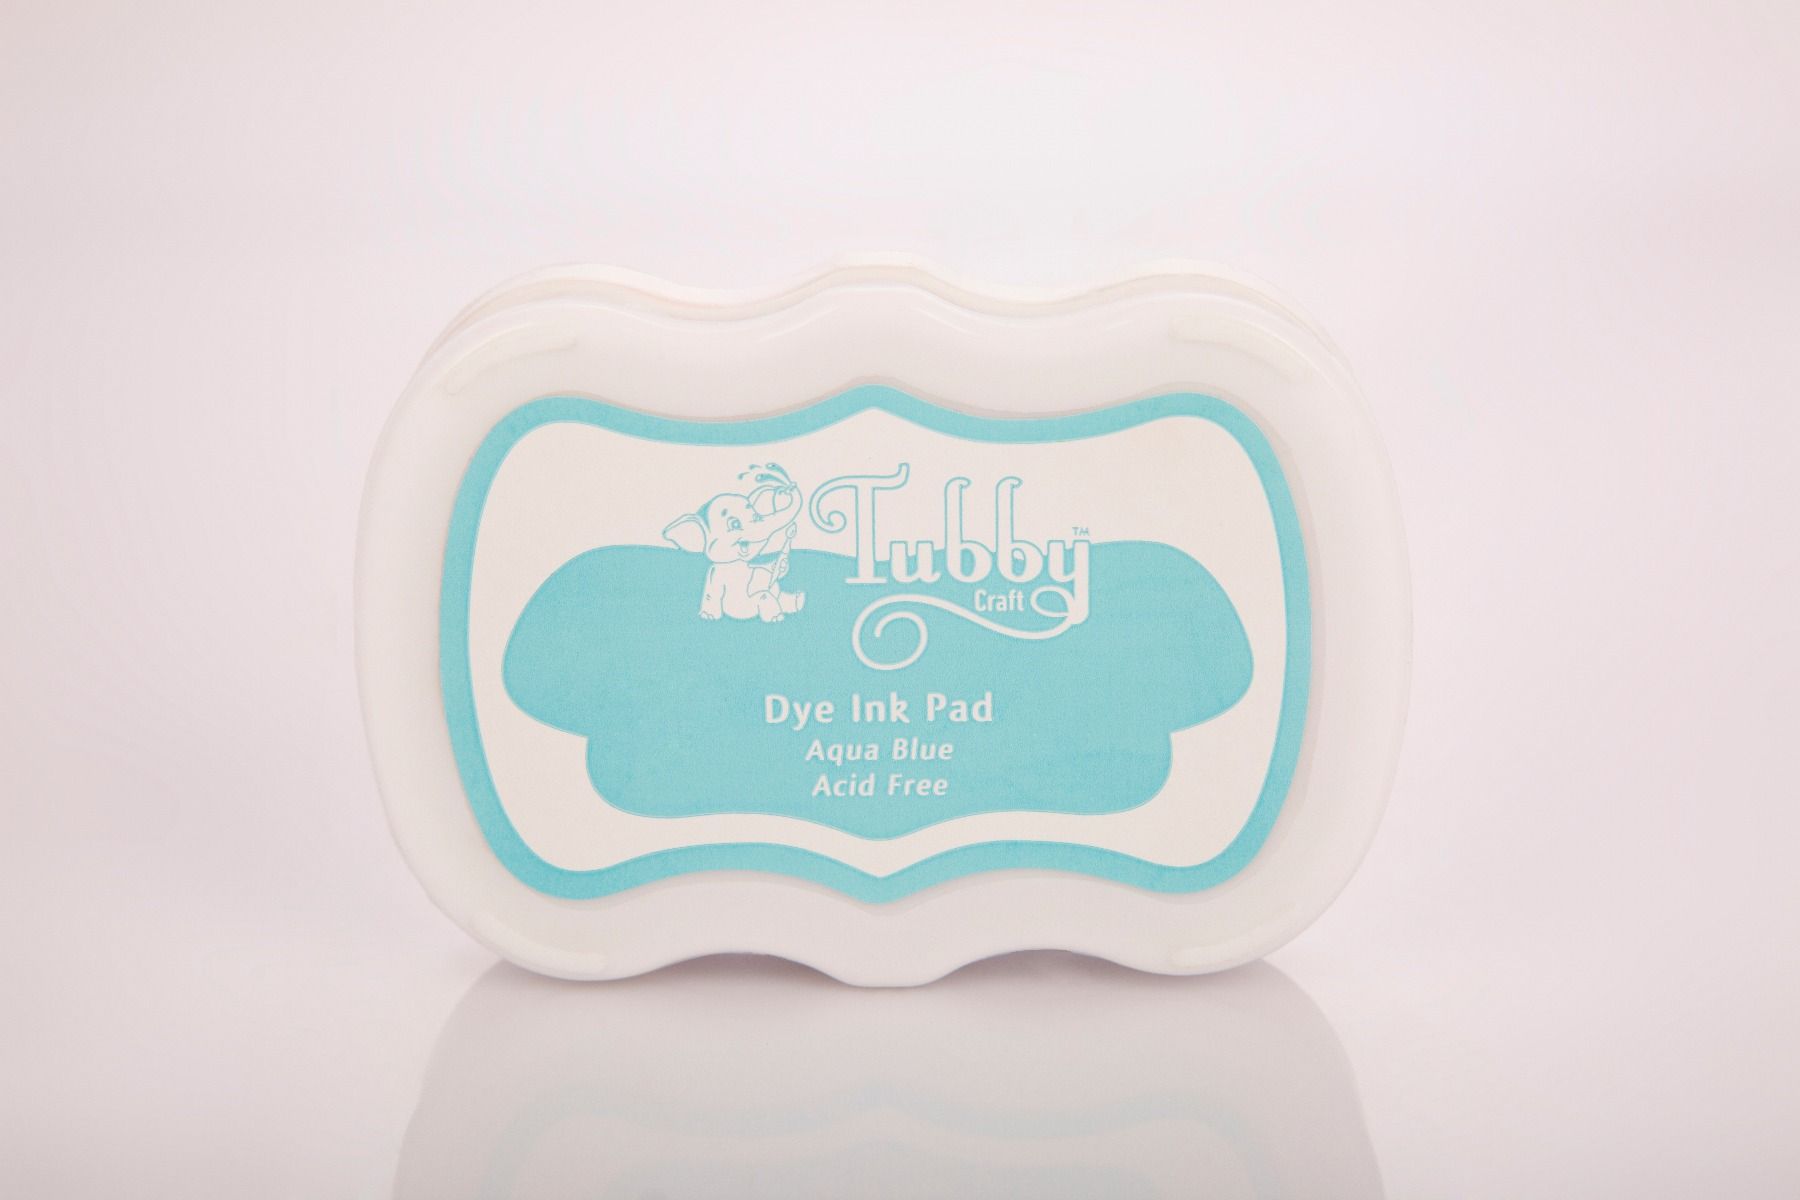
This time I chose Chinese Blue & Aqua Blue for my ink blending, I kept Aqua Blue up close to the heart and then added Chinese Blue from the other edges of the panel, bringing that in towards the Aqua.
I love to blend two colours together like this because this variation is something that will be unique every time you ink blend and I just think that is what makes it so beautiful!!
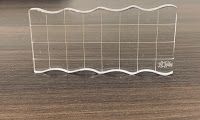
I decided to add some splatter to this one, so I kept the mask in place and added a little bit of metallic gold ink onto my Tubbycraft rectangle acrylic block then used a thin brush to flick the ink off the edge of the block onto my background.
I love adding splatter this way because you get the random nature of splatter which is impossible to manufacture, but you also get some control over where the splatter goes by aiming your block at particular parts of the cardstock! This is that perfect blend of random yet micro managed that is so up my street!!!
Again I get the joy of lifting that mask to see the beautiful crisp line of the masked off heart. Just gorgeous!!
Background Number 3

I was only planning to make the two backgrounds I already had, but when I lifted the heart mask up it was just so pretty that I couldn't resist using it to make a third background!! I just attached it to another a2 panel of 80lb Neenah!
(If I had thought about this before, I would have tried to blend over the stencil in a way that might have got me a 4th background! As it was the stencil piece wasn't usable as a fourth background this time.)
Making My Cards
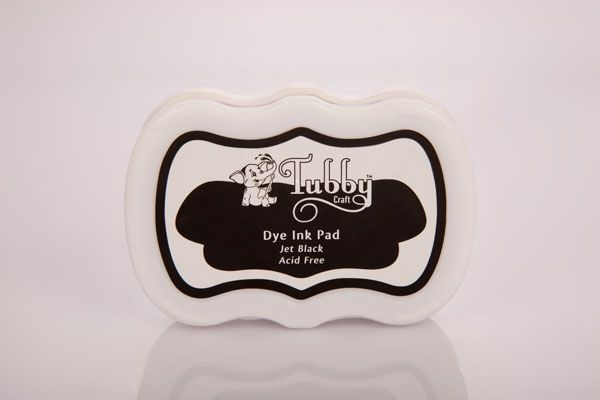
I stamped out three of the cute little bears & three party hats from the new Beary Wishes stamp set onto a piece of Bristol Smooth cardstock using Jet Black dye ink. I heat set this with my dual speed heat gun to make sure it was fully dry before I added any water to make sure I didn't get any bleeding.
I used my Arteza real brush pens to pain each of the little bears & their hats, then I fussy cut them out leaving a thin white border all round the image.


For my sentiments I stamped two with jet black dye ink, onto scraps of Neenah 80lb and trimmed them down into thin strips which I could add with wet glue onto my backgrounds once I had decided on the final image layout.
I added my bears with adhesive foam squares to give dimension.


For my other sentiment I decided to do something a little different! I heat embossed the word 'HUGS' from Beary Wishes, onto the heart that one of the little bears is holding, using superfine embossing powder to make sure I got the fine letters properly.
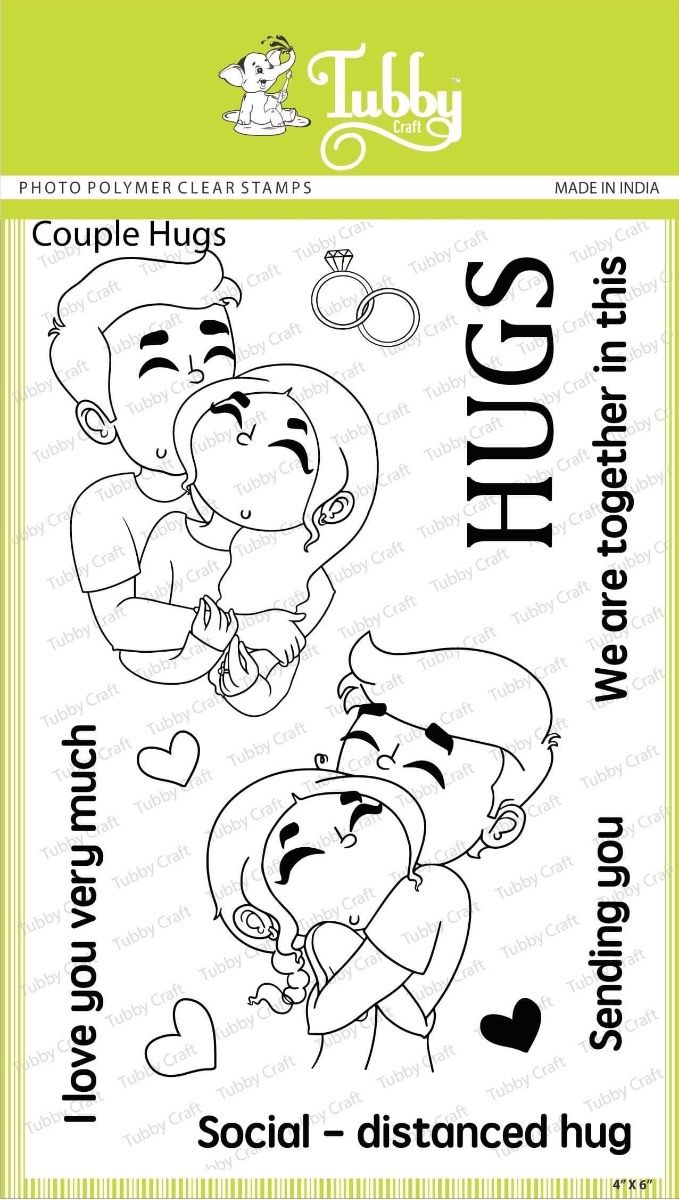
Then I grabbed 'sending you' from Couple Hugs which is another new stamp set and I embossed this onto the large heart on my background to give me a completed sentiment of 'sending you hugs'. I just thought that was so adorable!! 🥰

I trimmed down all three of my card panels to 4 x 5.25 inches and popped them up onto a2 card blanks with some adhesive foam tape.
I added blue heart embellishments to the two cards with blue backgrounds and moonlight sequins onto the other one.
I really loved working with the Beary Wishes stamp set, and I hope I showed you some of the countless ways these little bears could be used! It's definitely one of my favourite sets and I haven't even scratched the surface with all the card ideas I have for this adorable set!!
Thank you so much for spending this time with me, I will be back soon with another video tutorial, if you haven't seen my one stamp - two ways video tutorial you can find that here, along with lots of other video inspiration from the rest of our Design Team.
You can also catch me on my own channel & social links
Blog | Youtube | Instagram | Facebook
Stay crafty!
Bye!!
Supplies Used:

Comments
Post a Comment