Hello There!
Welcome to my post. Today i have made 2 cards using the stamps and the vibrant dye inks by Tubby Craft. With the inks the focus is on ink blending for great background on the cards.
CARD 1 : Anniversary Card

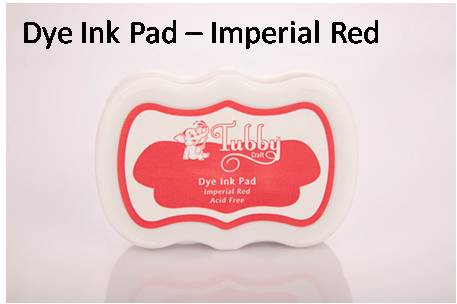
To make this card i first masked the edges of the card front and then ink blended on it using the Tubby Craft inks - Lemon Yellow, Tangy Orange and Imperial Red. A tip for a good ink blending is nice juicy ink dabbers. Mine are so full of ink. Also dabbing the ink on a separate paper and starting slightly off the page eliminates blobs of ink on the project. I must say i love how the Tubby craft inks blend into each other forming a smooth gradient. I peeled the masking tape off after the ink bending was over.

On a separate watercolor paper, i stamped the images of the numbers 1 and 0 using acrylic blocks by Tubby Craft and heat embossed it with Tubby Craft Jet Black ink & cleared embossing powder. The cute critters peeping from the image of the number makes the stamps adorable.

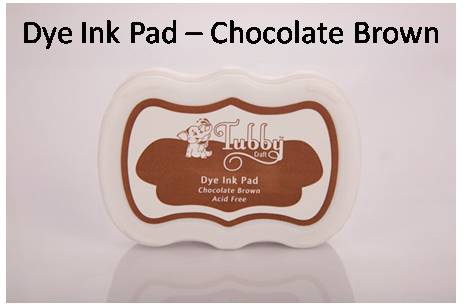
I then colored the image using the dye inks for water coloring. The Tubby craft inks I used are - " Lead Grey", "Light Pink", " Chocolate Brown", "Lawn Green" and "Emerald Green". I used the acrylic blocks by Tubby Craft as bases where i applied a little ink on to it and then water colored by picking the ink from it.

I then fussy cut the images and adhered them on the inked panel with foam tape to add dimension. I also Stamped the sentiment " Happy Anniversary" from the "Fancy Sentiment" stamp set by Tubby Craft.

I then added few sequin and nuvo drops to embellish the card and adhered on to back matted layer.

I finished the card by adding the whole card front on to a white card base.
Tubby Craft Supplies Used:
Tubby Craft’s acrylic block with guidelines – for comfort stamping and excellent gripping


CARD 2 : Lucky to have you Card

For this card I first used the masking tape to conceal the area i wanted to be left white. For this i first cut thinner strips of the masking tape and then stuck them in a desired pattern.

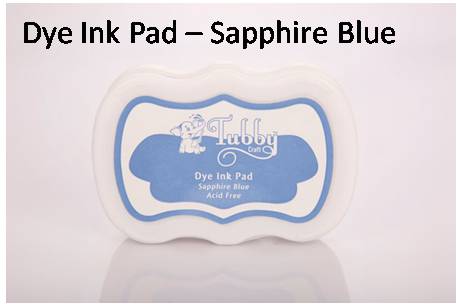
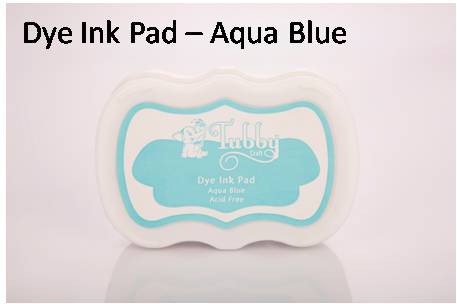
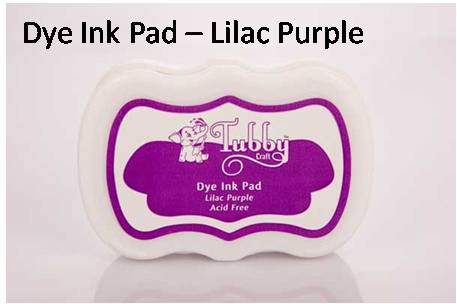
Then I inked the whole card front using Tubby craft dye inks in bright colors like - Aqua Blue, Sapphire Blue, Lilac Purple, Magenta, Lavender violet.

I then peeled the masking tape to reveal the white area. This looks so pretty. Isn't It.

I then added a rectangular die cut sheet of vellum.

On a smaller rectangular die cut i stamped the sentiment from "Lucky quote" stampset using acrylic blocks by Tubby Craft and heat embossed it with Tubby Craft Jet Black ink & cleared embossing powder. I adhered this piece on top of the vellum sheet.

I then added a few sequin and gem stones to embellish the card and add further interest.

I also added the matted layers before adhering to the card base. All the layers are adhered using foam tape to add dimension to each layer.

Tubby Craft Supplies Used:
Tubby Craft’s acrylic block with guidelines – for comfort stamping and excellent gripping


I hope you liked my cards. Do let me know how you like these cards by leaving me comments. I love to read them and I appreciate your time on my blog a lot.
Tubby craft products are available at following retailers-
Hope you liked the cards and will check out the wide range of good quality products by Tubby Craft.
Happy Crafting & Hugs
Comments
Post a Comment