Hi there!
Today i shall be showcasing the inks by tubby crafts along with the some of the lovely floral stamps. Floral stamps are the best, simply because one can use them for all occasions , for all age groups and with lots of techniques. Don't you agree?
I have to tell you, i have been using the dye inks by Tubby craft since November 2018 and i fallen in love with these. I love them as in addition to being great for stamping, these inks are doing great with heat embossing, coloring with my copic markers, ink blending, coloring with prisma color pencils and i am able to water color with these as well. I find myself reaching for these more and more for their multi functionality and vibrant colors. The color swatch on the side of the ink pads is super helpful.
CARD 1 : Water coloring with Tubby Craft Inks

To make this card, i first stamped the images of these beautiful flowers from the "Wishes with Magnolia" stamp set using their acrylic stamping blocks in jet black ink and embossed it with clear embossing powder. The Tubby craft inks are so juicy they hold the embossing powder very well.

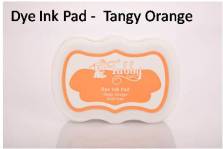
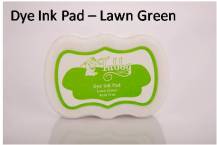
Once I stamped, I watercolored the images with dye inks by Tubby Craft. The colors used are : Tangy Orange, Light Pink, Lemon Yellow and Lawn Green. You may gently apply the ink from the ink pad on to their acrylic blocks, add a little water and start water coloring using a brush. I also made a few splattered with the same inks once the coloring was done.

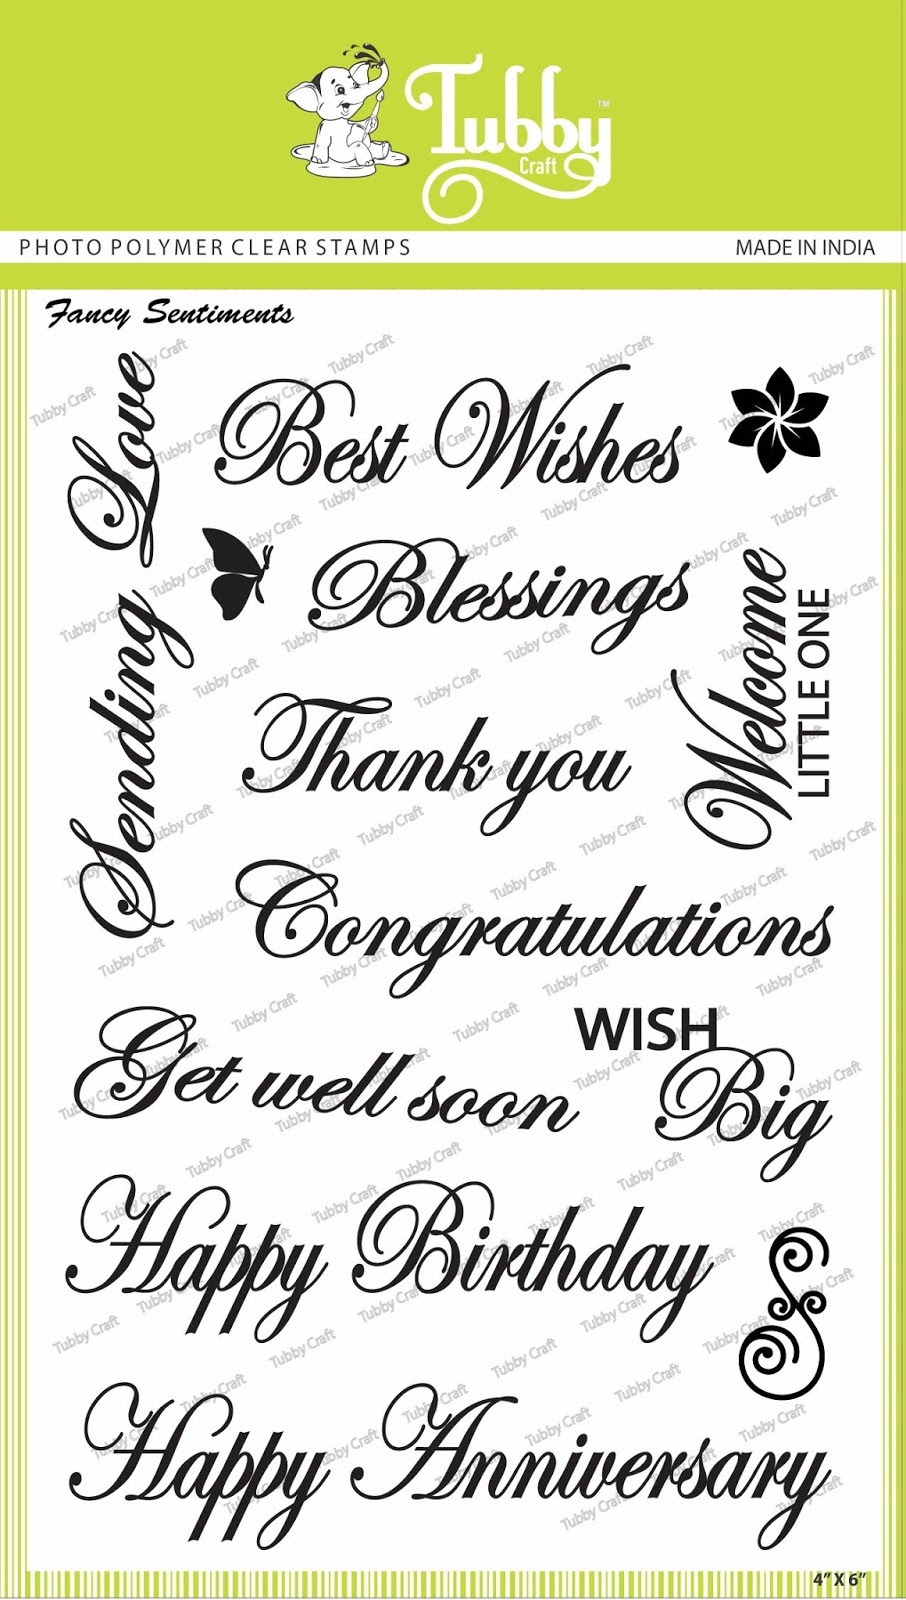
I then Stamped the Happy Birthday from Fancy Sentiment stamp set in lovely font in jet black ink. I added a few gem stones to finish the card.

Supplies Used: TOOLS Tubby Craft’s acrylic block with guidelines – for comfort stamping and
excellent gripping


STAMP SETS

INKS


CARD 2: Layer Stamping with Tubby Craft Inks - CAS Thank you Card
My second card if a Clean and Simple card with the layering stamp set called "Camelia Layered Flower"

Made this CAS card in minutes and made a whole bunch of these.
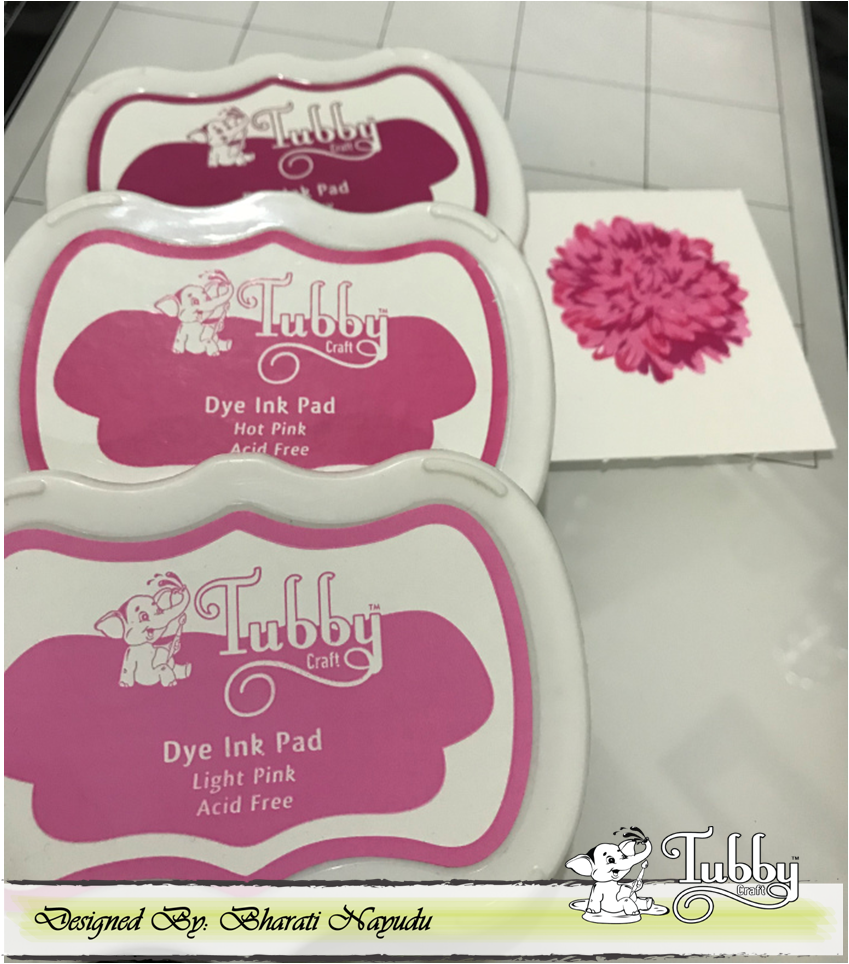
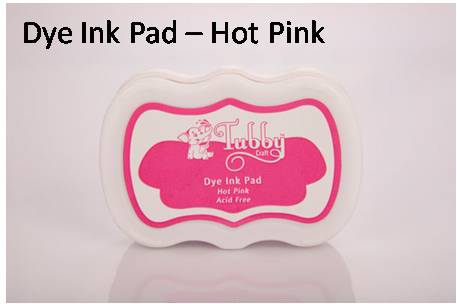
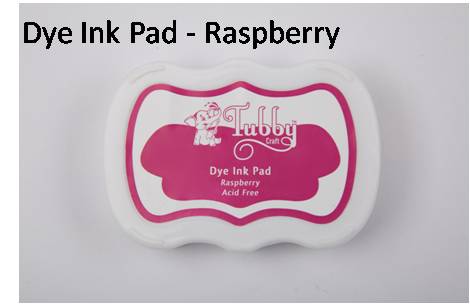
I stamped the layers of flowers using their acrylic stamping blocks with the Tubby craft inks called Light Pink, Hot Pink and Raspberry and fussy cut the stamped image

I then stamped the image of the leaves using their acrylic stamping blocks in two different tubby craft inks called : Lawn Green and Emerald Green. The image of the leaves is from the same stamp set - "Camelia Layered Flower".
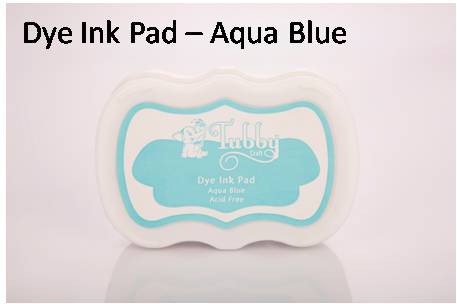
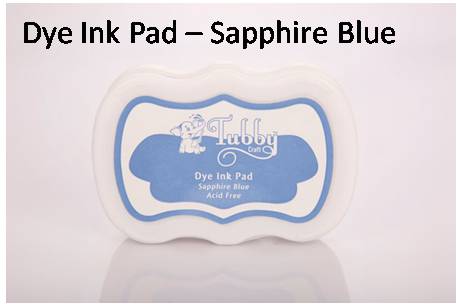
I then Stamped the Thank you sentiment in a wonderful font and the butterfly from Fancy Sentiment stamp set in Tubby Craft inks called Aqua Blue and Sapphire Blue. I then adhered the fussy cut flower with a foam tape for dimension.
Supplies Used: TOOLS Tubby Craft’s acrylic block with guidelines – for comfort stamping and excellent gripping
STAMP SETS

INKS

CARD 3 : Ghost stamping with Tubby Craft Inks


I loved the leaf stamp from the "Camelia Layered Flower" stamp set that i had to use it again and repeatedly.
To make this card I first stamped the leaves repeatedly using their acrylic stamping blocks on white cardstock with Tubby craft inks called Lawn Green and Emerald Green. I also stamped it again repeatedly with a second generation of ink.
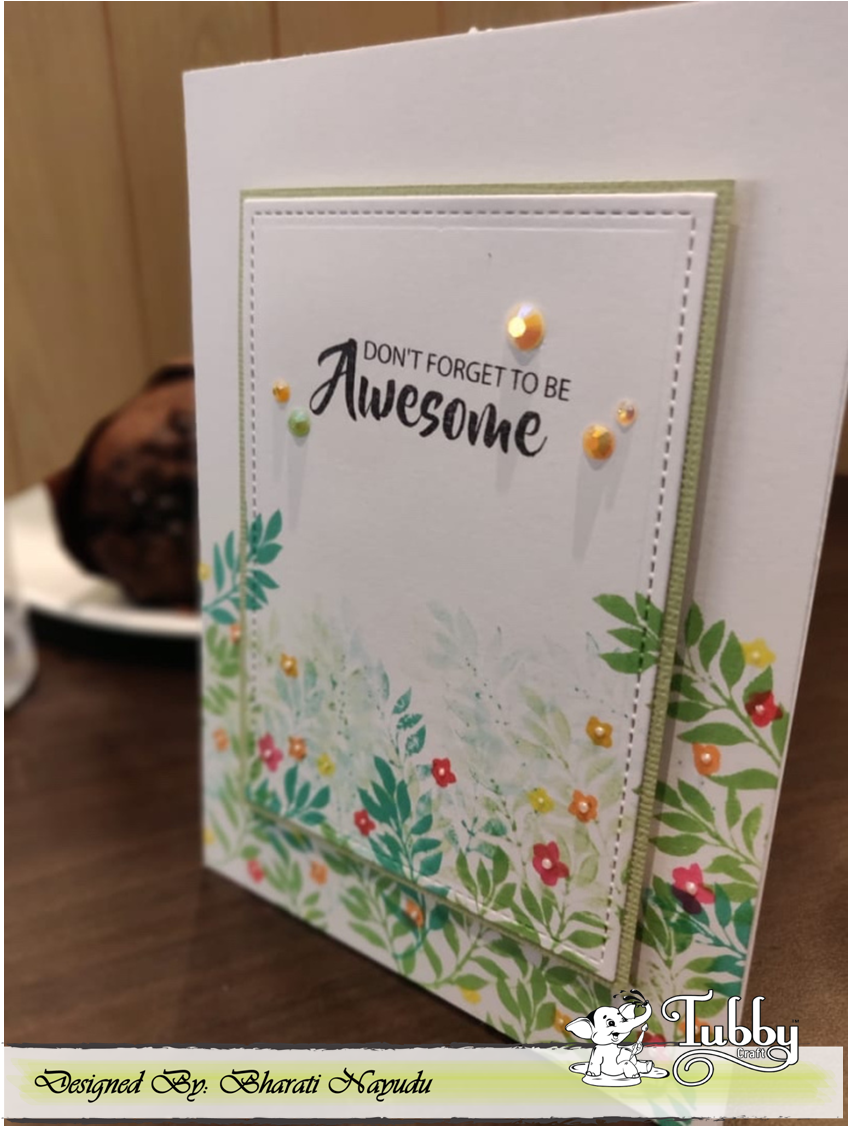
I added tiny flowers from the "Wishes with Magnolia" in variety of vibrant inks called Tangy Orange, Lemon Yellow and Raspberry pink. I cut the center out with a rectangle die, matted it and added it back in place with a piece of craft foam between. I then added a few embellishments, and a sentiment using their acrylic stamping blocks from the same "Camelia Layered Flower" stamp set.
The card design I used here was inspired by the talented Jennifer McGuire
Supplies Used: TOOLS Tubby Craft’s acrylic block with guidelines – for comfort stamping and excellent gripping
STAMP SETS

INKS


Tubby craft products are available at following retailers-
HNDMD
CraftsNeed
Letz Craft
Crafters Corner
Nirmal Stationers
The Craft Shop
Nagashri Arts
Crafters Emporio
Supplies Used: TOOLS Tubby Craft’s acrylic block with guidelines – for comfort stamping and excellent gripping
STAMP SETS
INKS
Tubby craft products are available at following retailers-
HNDMD
CraftsNeed
Letz Craft
Crafters Corner
Nirmal Stationers
The Craft Shop
Nagashri Arts
Crafters Emporio
Comments
Post a Comment