Hello all,
Ria on this side. I hope you all are doing well and are equally excited to find dye inks manufactured from the house of Tubby craft.
Shruti has been kind enough to send me all the newly released ten colors of dye inks to give it a try.
I have tried to experiment as much I could and without wasting time, let me get straight onto the inks and its results.
Colors:
In its February release, Tubbycraft has launched ten premium colors of dye inks. All the colors are must have including some base colors and soft hues.

The colors available right now are:
- Light Pink
- Hot Pink
- Imperial Red
- Chocolate Brown
- Lemon Yellow
- Tangy Orange
- Lilac Purple
- Jet Black
- Sapphire Blue
- Lavender Violet
Storage:
They come in a rectangular box of 3.5inch * 2.5 inch dimension. That is quite handy to use.


The dye inks can be used for water coloring also. You can refer to Berina's post for details >
https://tubbycraft.blogspot.in/2018/02/lift-up-balloon-and-flowers.html
Blending:
These inks blend BEAUTIFULLY. We have not thought other than distress and oxides but I am quite happy that these inks blend beautifully on a locally manufactured cardstock too.
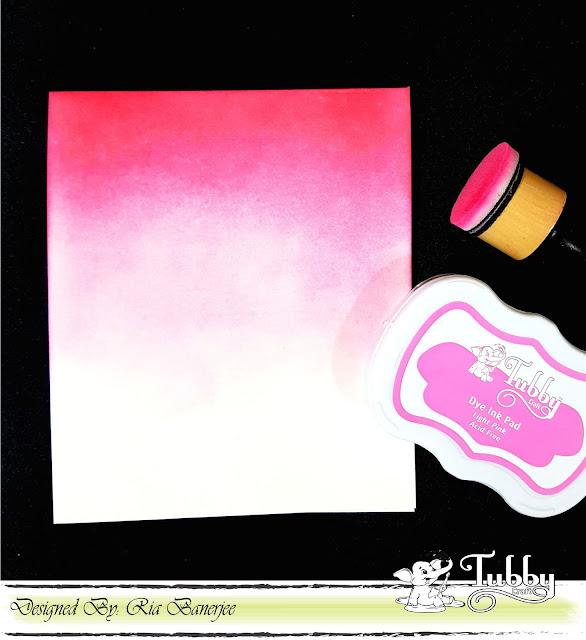
I have blended them effortlessly.
Water-reactive:
Does it react with water? A Big Yes!

These are water reactive and you can get beautiful results with these inks and water together!
I have made two quick cards with these inks:


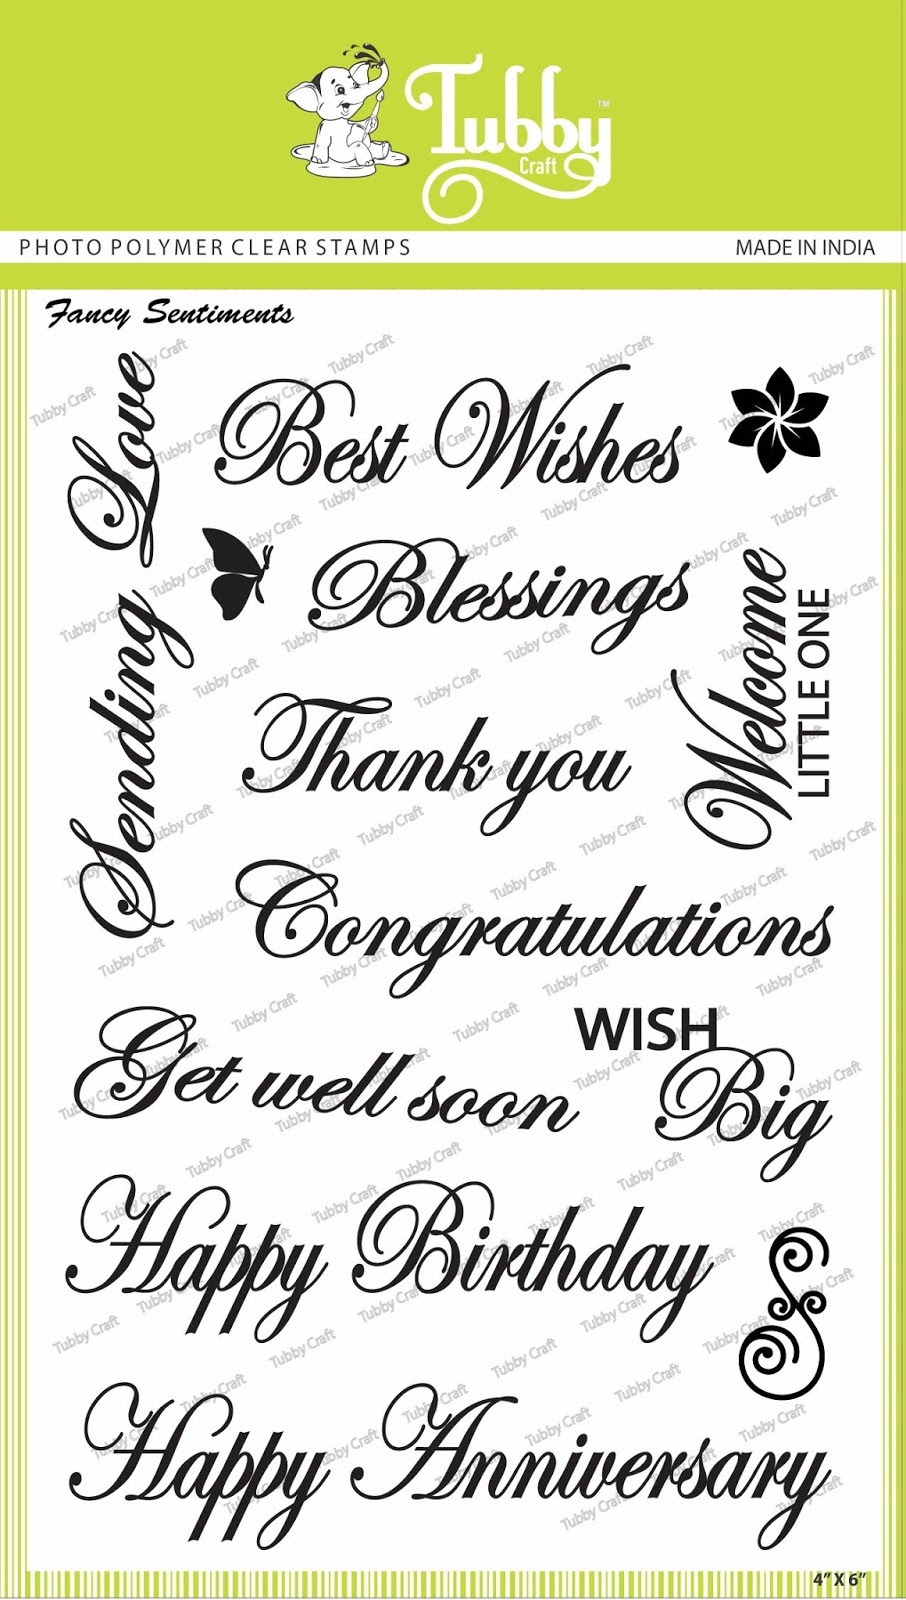
I have used a stencil and different dye ink colors for the background. The sentiment is from Fancy sentiments and stamped with Jet Black dye ink.
Price:
Can you get these beautiful qualities for only 100 INR ? Definitely yes! It is too economical.
I hope you have got a clear picture of these inks. Its time to grab them ASAP.
Products used from the store:


Happy crafting!
Ria on this side. I hope you all are doing well and are equally excited to find dye inks manufactured from the house of Tubby craft.
Shruti has been kind enough to send me all the newly released ten colors of dye inks to give it a try.
I have tried to experiment as much I could and without wasting time, let me get straight onto the inks and its results.
Colors:
In its February release, Tubbycraft has launched ten premium colors of dye inks. All the colors are must have including some base colors and soft hues.
The colors available right now are:
- Light Pink
- Hot Pink
- Imperial Red
- Chocolate Brown
- Lemon Yellow
- Tangy Orange
- Lilac Purple
- Jet Black
- Sapphire Blue
- Lavender Violet
Storage:
They come in a rectangular box of 3.5inch * 2.5 inch dimension. That is quite handy to use.

The box can be stacked easily. The best thing is that the colors are marked outside the box to get a quick reference.
Swatch test:
I did a quick swatch test with the inks using a stamp from Butter cup.

The ink pads are super juicy and does not get dried easily. The images stamped with Tubbycraft dye inks are solid and give uniform result in its first use only. The pink hues are my favourite.

The Jet black is a must have in your stock and do not forget the beautiful colors with which layered stamps will go very well to work with.
Working with mediums:
The inks go well with different coloring mediums. I have tried to illustrate briefly:

https://tubbycraft.blogspot.in/2018/02/lift-up-balloon-and-flowers.html
Blending:
These inks blend BEAUTIFULLY. We have not thought other than distress and oxides but I am quite happy that these inks blend beautifully on a locally manufactured cardstock too.

Water-reactive:
Does it react with water? A Big Yes!

These are water reactive and you can get beautiful results with these inks and water together!
I have made two quick cards with these inks:


Price:
Can you get these beautiful qualities for only 100 INR ? Definitely yes! It is too economical.
I hope you have got a clear picture of these inks. Its time to grab them ASAP.
Products used from the store:


Comments
Post a Comment